So last week I looked at a way to create a gear on Creo Elements, the approach was to create a segment of gear, that made up a specific fraction of the total gear, then design the teeth profile for a single tooth and then mirror that around a circle to create a whole gear.
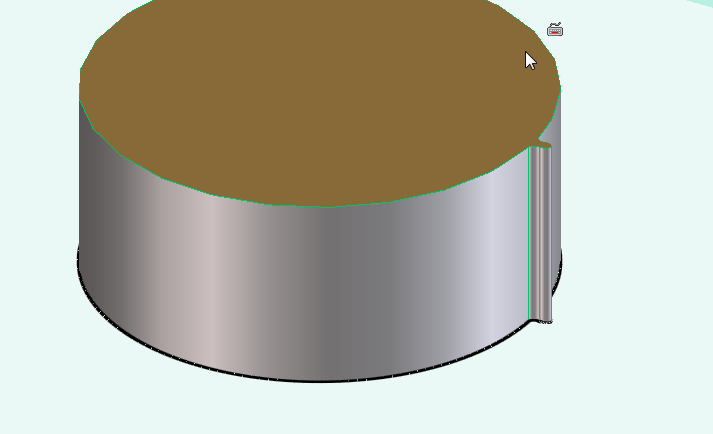
Of course you could start with a circle and draw out the gear as a 2d shape and then extrude it all as one part, or you could make a cylinder and then use the pull tool to extrude the teeth in the cylinder.
The method that I looked at last week is good for designing gears, and other parts that have circular symmetry.
But as ever, there is more than one way to skin a cat.
So now I'm going to cover a new way to create spur gears.
This time the scenario that the part will be designed for is as follows.
I have two axles that are 50mm apart.
I need to link these with two gears, the gears should be the same size such that there is no change in speed of torque in the transmission.
Now the first thing to consider is that if these were rollers they'd both be 50mm diameter, touch and transmit force by friction alone, but as these are spur gears they need to have teeth that mesh into each other.
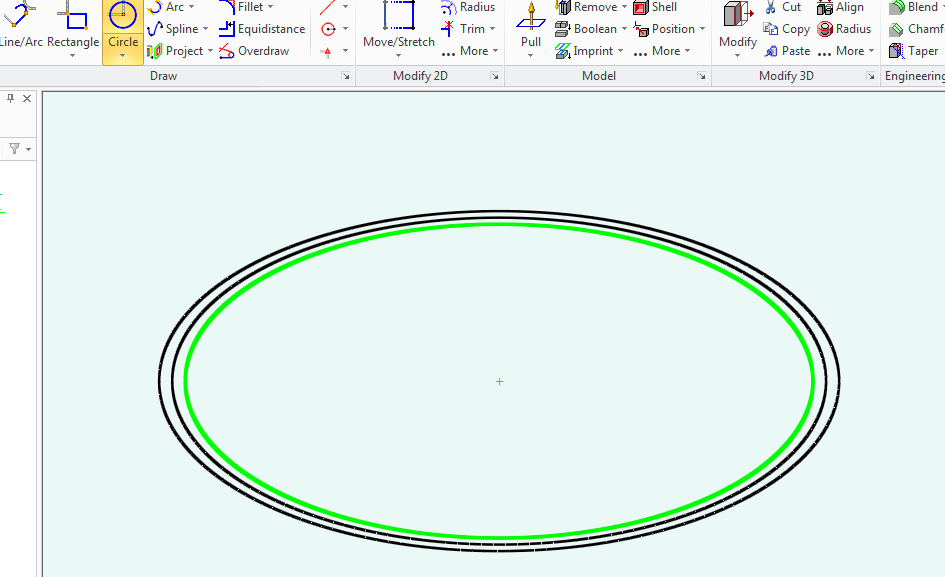
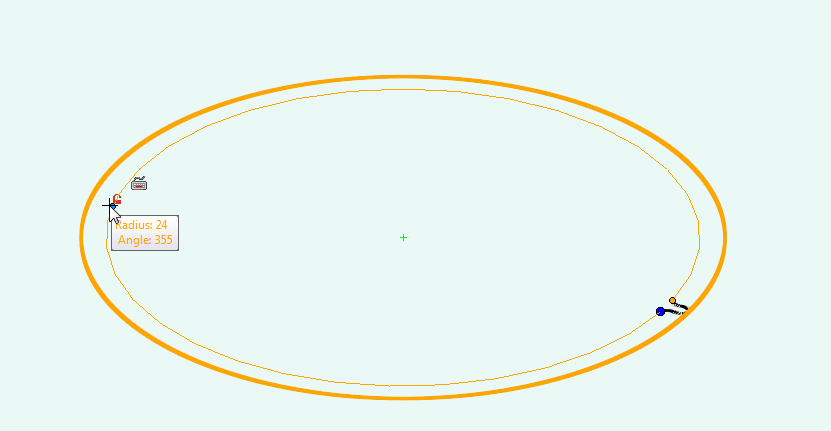
So we start by drawing a circle that's 50mm in diameter. (25mm radius)
then we'll draw another circle inside that with a 24mm radius and finally a circle around the outside with a 26mm radius.
These circles will form and guidelines for the gear teeth, (which will extend out some 1mm over the 25mm radius and nest into pockets 1mm inside of that 25mm radius on it's mating gear.
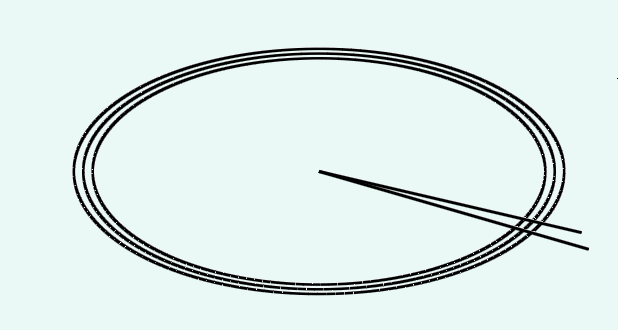
Now we'll add some guide lines for the amount of space our gear teeth will take.
so drawn a line from the centre of the circle along the 0 degrees line, then another on the 5 degrees line.
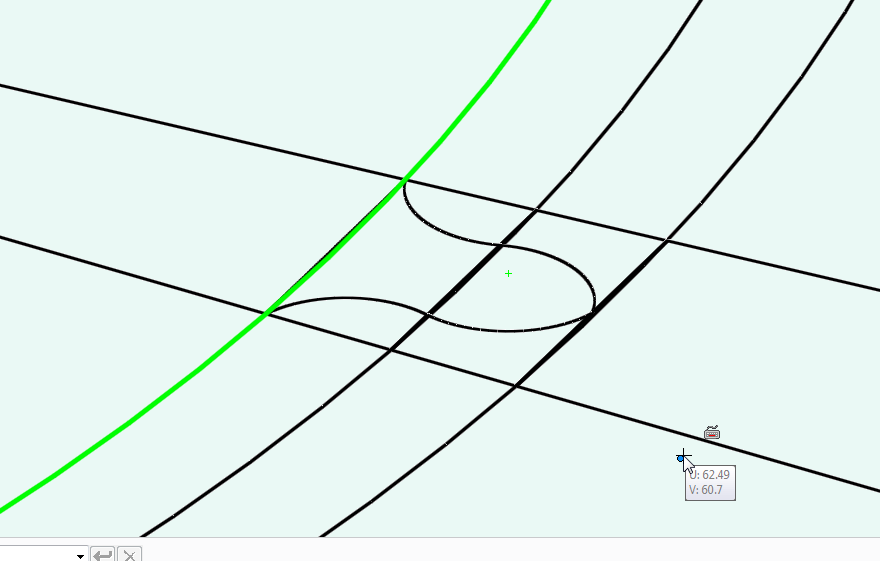
Now zoom in on where you will be making that tooth.
draw appropriate guide lines so that you'll have some points that will snap.
(join the points where you lines on 0 and 5 degrees cross the circle, then halve those lines again. this will form five points 0, 25% 50% 75% 100%, at each circle guideline.
Now use either the line tool, or the radius tool to create a tooth profile.
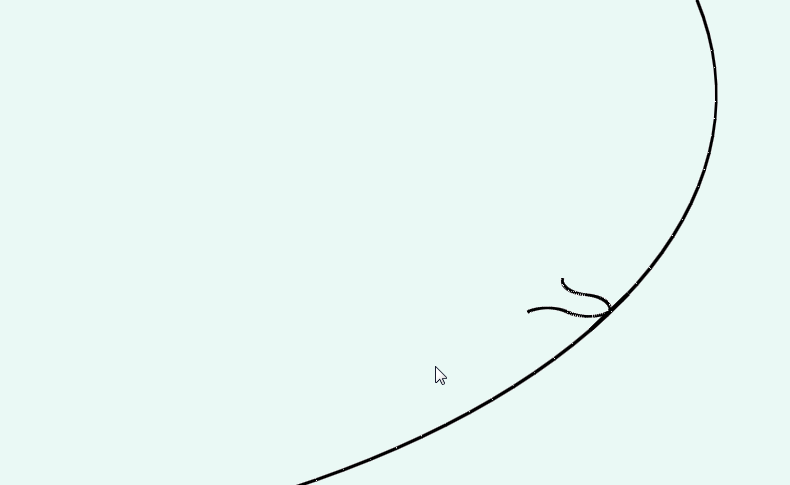
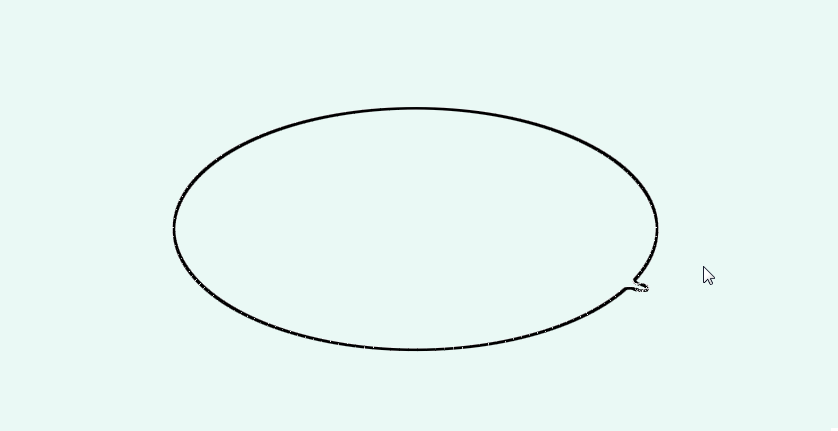
Now delete all your guidelines inside the outer circle, (leave the circle so that you can find the centre for the arc you'll create next.
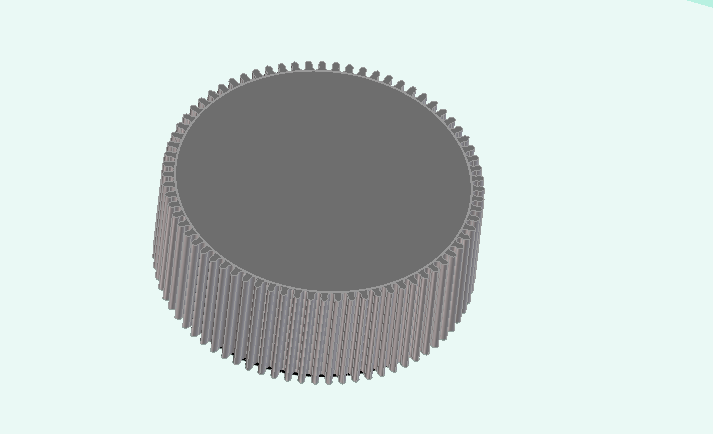
Now you have another gear.
No comments:
Post a Comment