The mode of failure is that the nichrome wire is getting too hot and melting through the Kapton tape, this is turn is making short circuits, and reducing the heater resistance, this is making more current flow, and the power to the heater is increased, I'm seeing a lot of max temp reached where the hotend starts to peak well in excess of the max temp permissible, (the max temp is to protect the peek)
But also the sudden rushes of current cause cause the power supply to stall, I've had steps being skipped, sometimes I've had axis appear to just re-home themselves, so instead of a single layer skipping, the entire model will just move two inches to the left have way through a print.
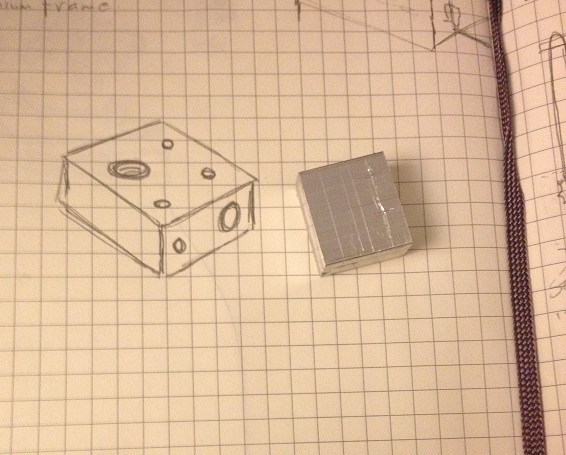
So this time I'm going to go all out and create a new hot end.
I'm going to base my design on the Jhead style heaters, with a block close to the nozzle, but instead of using a resistor I've decided to use a small ceramic heater.
Instead of tying my heater and barrel to the nozzle (which I may want to change to have greater or smaller nozzle widths) I'm going to stick with the M6 barrel of the solidoode, I'll stick with the removable nozzle, and I'll make a heater that can be screwed on and off just like the heatcore design could.
To start with I've located a 40w ceramic heater online that comes in a 23mm long 6mm diameter tubular package.
This will be my heater.
My block that will be used to store heat will be aluminium, (it's easy to acquire, relatively cheap -at least cheaper than brass)
The block will need to be at least 20mm wide to accommodate the 23mm heater, (it will not matter if 1mm sticks out either side -and this will help keep the wires away from the hot metal.
the block will be 10mm thick, this should mean that there is 2mm either side of the heater,
this will also allow for a 3mm hole to be drilled to install a grub screw to hold the heater cartridge in place.
The heater will be 2mm from it's opposite side of the block, and 2mm from the barrel of the machine, the barrel is 6mm wide, here will need to be at least 2mm on the opposite side of the heat block, (therefore the heater block must be 20mm x 10mm x 18mm, the most convenient size is 20mm x 20mm x 10mm)
Lastly the thermistor must also be installed in the printer, and must be thermally bonded reasonably well, to achieve this I plan to use heatsink style thermal compound and a second grub screw to ensure good contact.
Materials needed,
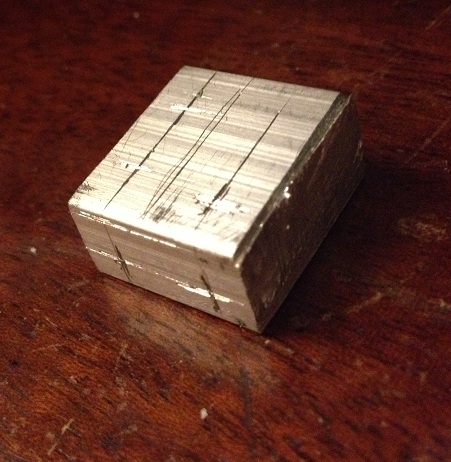
1 Aluminium block, (20mm x 18mm x 10mm) -I cut my block from a length of bar that was 20x10 x 2000mm
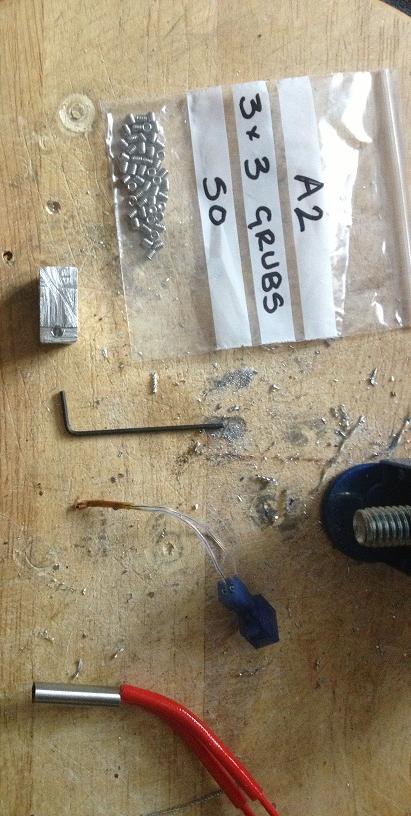
1 heater core, I bought mine as a 40w heater, but the measured resistance is actually 4.2Ohms, so it's actually a 34W heater.
3 grub screws I'm using M3 x 3mm
Thermistor -I'm re-using my original.
electrical connector - I'm re-using my original
Tools needed (at a minimum)
hacksaw -I'm using a B&Q value junior hacksaw -that cost 99p!
Drill
5.5mm Drill bit
2.5mm drill bit
6mm drill bit
M3 Tap
M6 Tap
Ruler
scribe for marking
so, here's the process.
First mark 18mm from the end of the bar
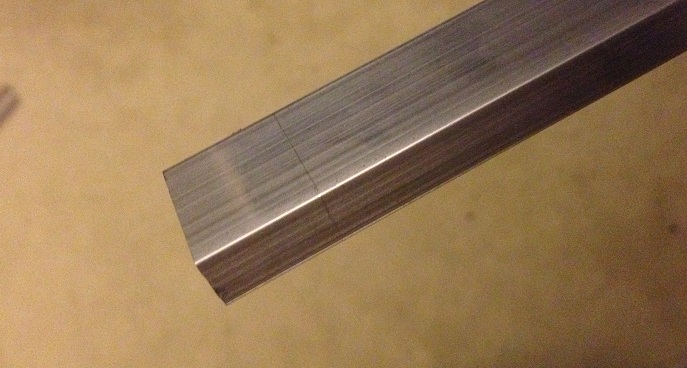
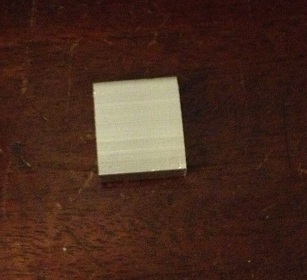
then cut off the aluminium block
now you need to use a scribe to mark where you want to drill
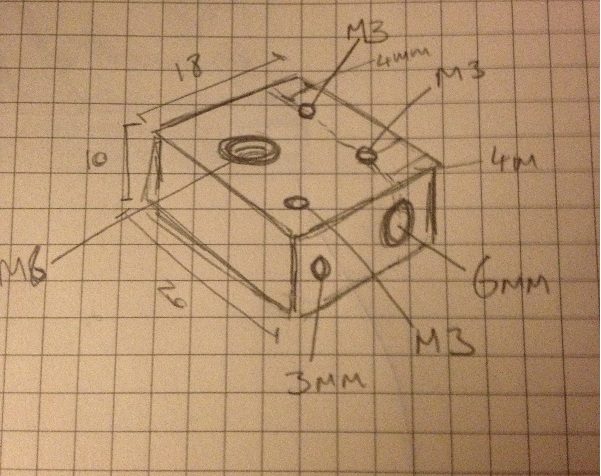
(the measurement that is missing here is that the M6 hole is centred
9mm from the far edge)
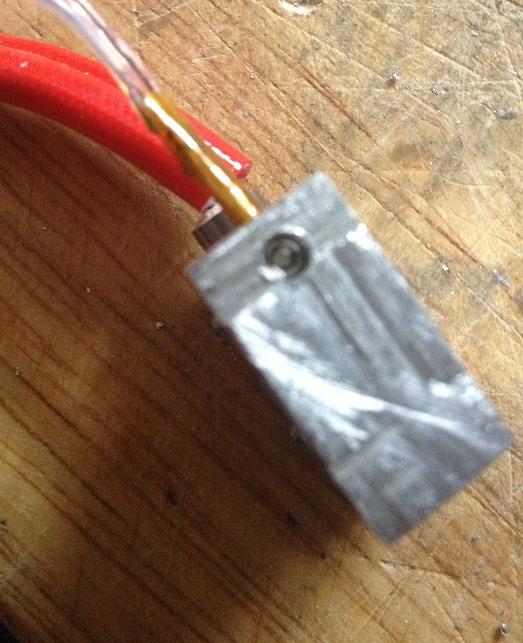
first drill the long hole through the block, start with a 3mm hole and then enlarge that to a 6mm hole
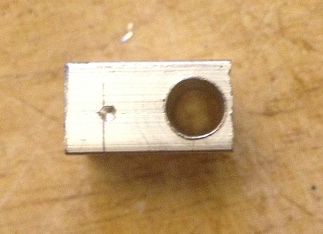
then drill a 2.5mm hole next to that, about 5mm into the block
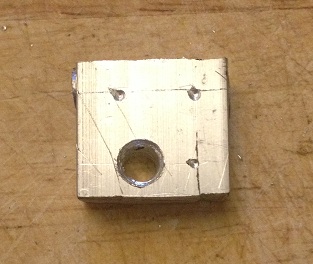
now drill a 3mm hole and enlarge that to a 5.5mm hole (ready to be tapped for M6) in the face of the block
test fit the heater to make sure it fits
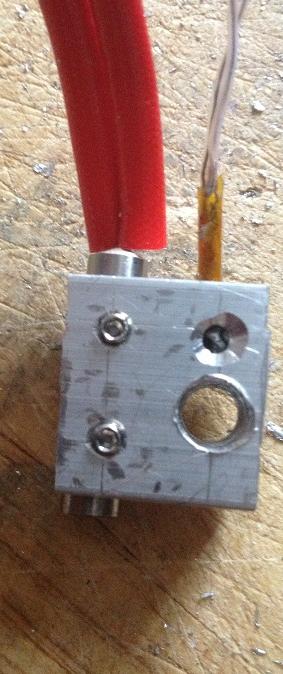
now using a 2.5mm drill bit drill three holes in the top face of the block.
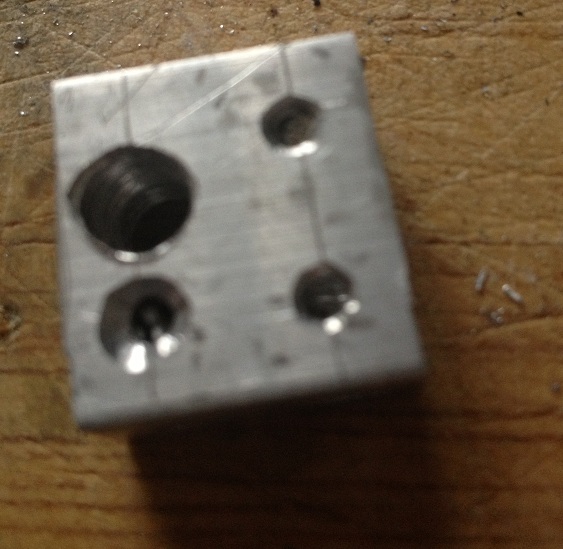
unfortunately my drill bit broke inside the last hole, so I put a different hole in the side instead -the drill bit is still stuck in the block
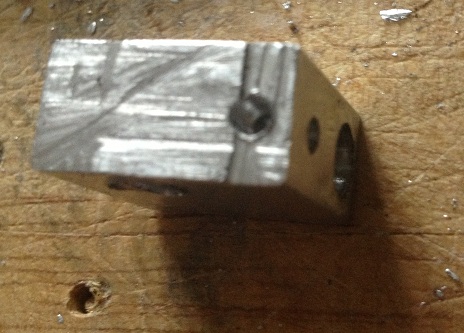
now you need to use the M3 tap to create a thread on the two 2.5mm holes that are drilled through to the 6mm hole, and also in the final 2.5mm hole, (this should be on the top, but mine is on the side thanks to the broken drill bit)
Then you need to use an M6 tap to create a thread on the 5.5mm hole that goes through the block.
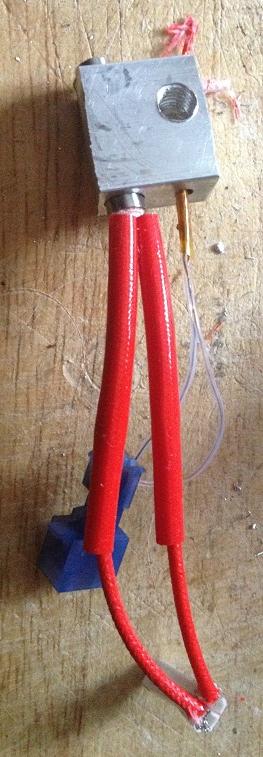
now we come to assembly.
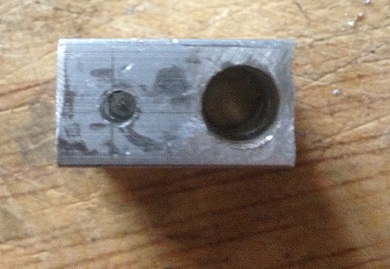
the heater slides into the 6mm hole.
the thermistor slides into the 2.5mm hole.
the thermistor is secured with an M3 grub screw.
the thermistor slides into the 2.5mm hole.
the thermistor is secured with an M3 grub screw.
and the heater secured with two more grub screws
Now I've pulled the whole connector off the original green heat core wires, and attached it to the new red heater wires.
You need to remove the extruder from the machine, (the block catches on the carriage if you don't remove it to turn it)
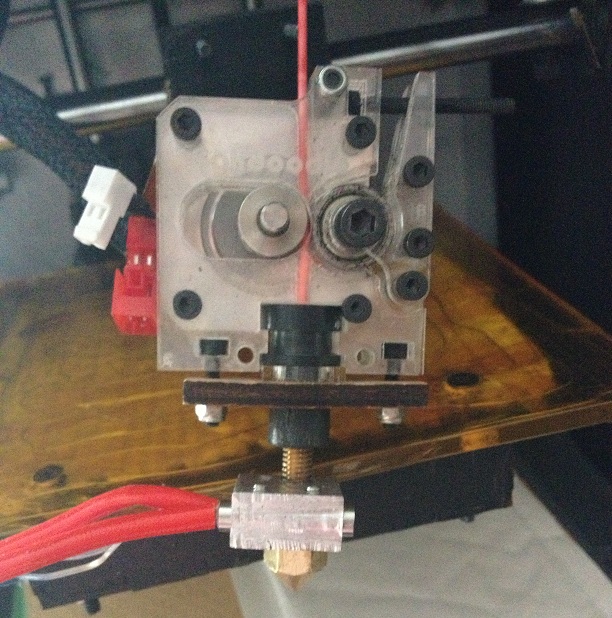
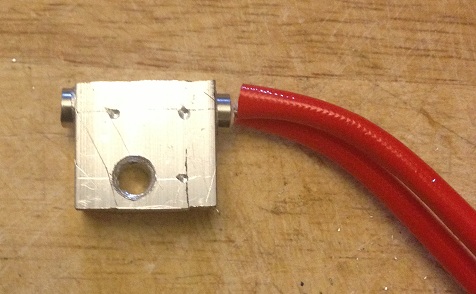
then you can screw the new heater onto the machine and replace the nozzle.
after that the only thing left to do is re-mount the extruder, re-connect the wires and start printing!
The heat-up time is more or less exactly the same, and the stability of the heater is actually probably a bit better than the original heatcore, (looking at the graphs in RH)
4 comments:
Most people are hiring a contractor when they encounter problem with their heater. But you, you designed your own. That's very cool. I think that's the advantage of having a skill in this field. Anyway it's been months, are you still using this now? _Launce @ HarrisAireServ.com
Hello,
Yes, this is still going strong, I've also sold a few on ebay and had no complaints.
The ceramic heater was a good choice. It does wonders in keeping itself insulated while sustaining very high heat, which probably attributes to it still going strong after all these months. And being able to sell this product to other people is certainly a welcome bonus. Thanks for sharing your design with us!
Amazing work, Danny! While others find it hard to look for the appropriate parts for their heater, you've designed one on your own. What's important is that you know how the part functions in the heater and which appropriate materials to get in designing one. Well, looks like you've had a great business potential. Did you design other parts of your heater? :)
Monica Ryan @ VillagePlumbing
Post a Comment