So, in this lesson I'm going to cover French polishing.
The reason that I'm writing this lesson now is that I've done a big project that involved French polishing, when I write that up I just want to be able to say, I French polished, and link to this lesson rather than write the whole method in the project write up.
Equipment
For this you're going to need;
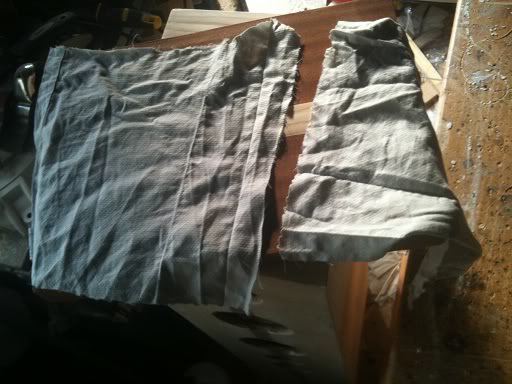
>A lint free (preferably cotton) cloth, -lint free just means a cloth that doesn't have bits that come off.
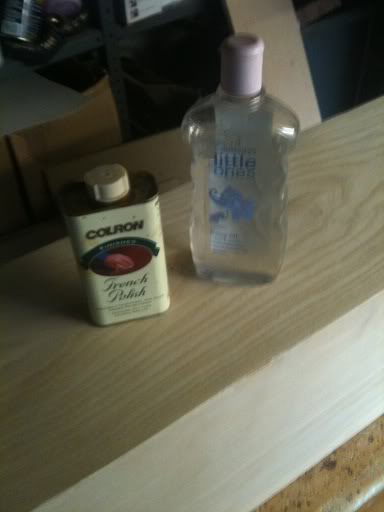
>Some mineral based oil, (I used baby oil)
>Something to polish.
and last, but by no means least, Some French polish!
French Polish
There are two ways to get French polish.
Either, you need to buy shellac flakes, and some alcohol, then you need to dissolve the shellac flakes in alcohol, then store it in an air tight bottle, (so that the alcohol doesn't evaporate), you'll need to have some practise to find what quantities of shellac to dissolve in what quantity of alcohol.
The alcohol you need to use is either de-natured alcohol, or methylated spirit.
you use around a half gallon of spirit for 1 - 2 pounds of shellac.
What you need to do is measure out your shellac into a large pot, then add your spirit. Leave the mixture to sit, stirring occasionally until all the flakes have dissolved, you then need to filter the mixture to remove any stuff that's not shellac.
Or, option 2, buy a can marked French polish, that's already been mixed and filtered etc.
Which is what I do.
When I say that you want something to polish, make it something nice, because this polishing does take a lot of work!
also it only really works on natural woods, plywood at a push, but will not work on MDF, hardboard or chipboard or any other kind of particle board.
Making a rubber
Before you can start applying the polish, you need something to apply it with, you need something to rub the polish on with, and this is called a rubber.
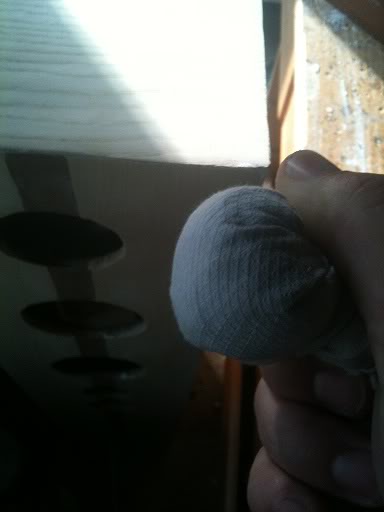
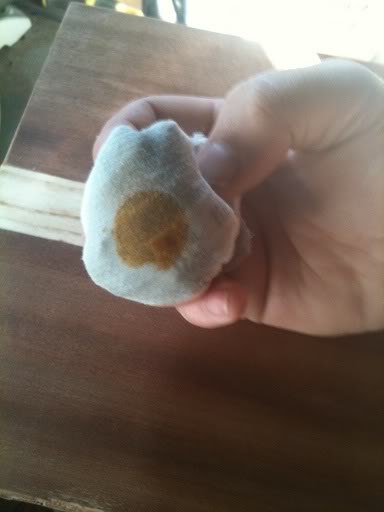
Basically, a rubber is a lint free cotton cloth, folded and twisted into a shape that gives a flat edge (called the sole), and inside of this there is a wad of material, (either more cotton, or cotton wool) that you apply your polish to to act as a reservoir for the polish.
Here is how to make one:
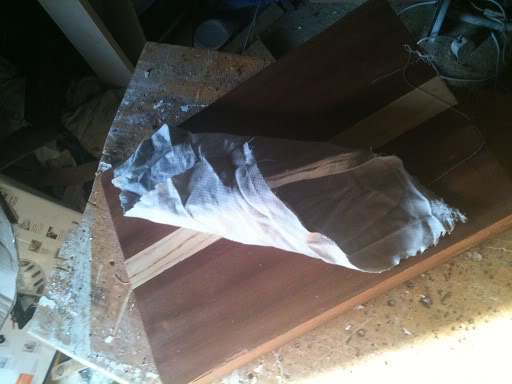
Take two squares of cotton, both about 12" square.
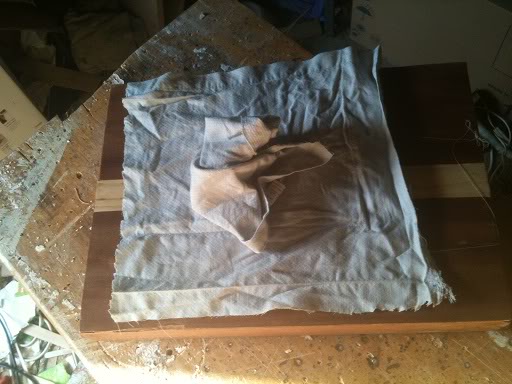
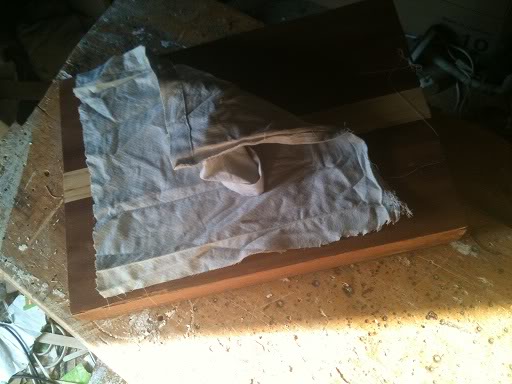
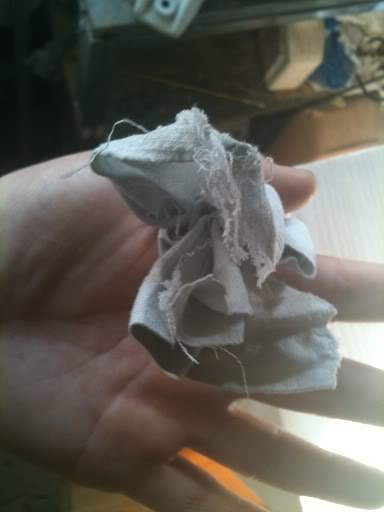
Lay one piece flat, and ball the other one up, and put it in the middle.
Now, loosely fold in the edges.
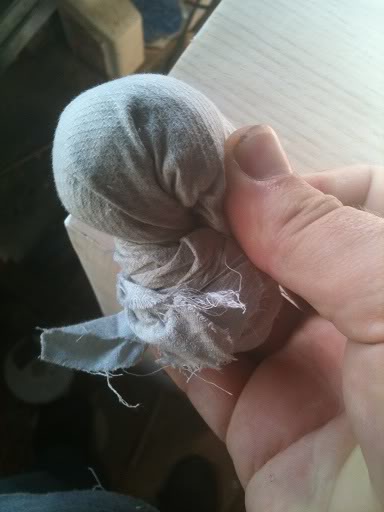
When all the edges are folded in, twist the corners together, pulling tight on the ball of material in the middle to make a firm yet spongy surface that is flat (ish), it should be spongy like a medium rare steak is spongy (when you press it, not eat it).
Charging your Rubber
Now you want to unfold it, and apply polish to your reservoir then bundle it all back up again.
You want polish to be available in the sole of the rubber, but you don't want to pour in too much polish that the whole thing leaks uncontrollably, so pour a little polish into the wadding in the middle then press the rubber onto a surface to start to squeeze the polish through the material down to the sole of your rubber, if you find that there is not enough polish inside your pad, you can always add more. -easier to add more than take any way.
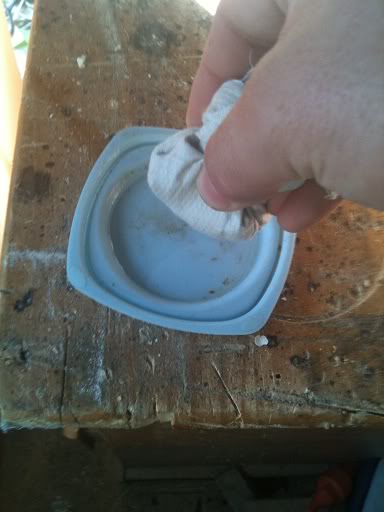
Shellac is quite sticky, and you'll find that as you apply the polish that the rubber doesn't exactly snag, but does become difficult to move across the surface of your work piece, this is where the mineral oil comes in. you should smear some oil onto the sole of the rubber, to do this I just put a few drops onto the lid of the container that I keep all the polishing cloths in and then just dip the rubber into the drops that are on the lid.
Polishing
At this point you have your rubber, you have it charged up with polish, and a little oil to help it glide, now you need to start polishing.
To start polishing you need your work piece to be held steady, if you're working on something that's flat, then just put it on a table, you don't need to clamp it down, if you're doing something more complex, then you might need to hold the work in one hand, whilst polishing with the other.
Now, I learned to polish by readying guides on-line and watching videos, so it is possible to learn that way. But it's sometimes confusing when getting started as to know what to do.
Some guides will tell you to start with a skimming motion, others suggest a circular motion to start and call this grain filling.
You can do what works for you, either applying polish and moving in small circles, to fill the grain, or using long straight swishing motions. I prefer the latter, it takes more time to start, but I find the finish to be superior, and find that I don't need to sand the surface between coats to remove blotches as there just are no blotches.
So, this is what works for me, If you find a different method works for you better write it down in your own blog/site, feel free to leave a link to it in the comments.
Starting to polish
First you need to have prepared your wood, by that I mean it's clean, it's been sanded, it's smooth it's been dusted to remove any saw dust.
Now you need to imagine an old grandfather clock with a pendulum,
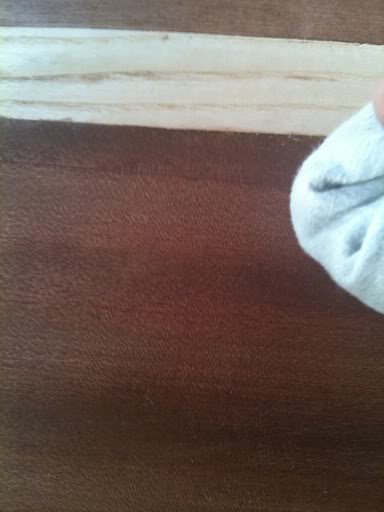
you are going to swing the rubber at the work piece, with about the same pace as a clock pendulum swings, start from slightly above one side of the work piece, swing down and across the wood following the grain of the wood, then come smoothly off the end.
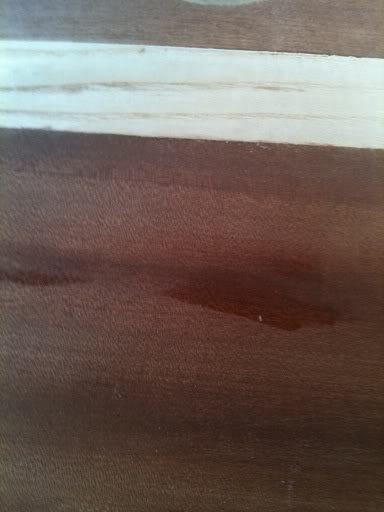
You should see a smear of the French polish on the wood. but this wet looking smear is mostly spirit, and it will evaporate, leaving just the tiniest coating of shellac.
The strip of white wood is about 1 1/4" to give you an idea of the scale of things here, the trail of polish is about 4 - 6" long and the total arc (from where my hand started to where it ended up must have been about a foot,) as I said, go at the same pace as a clock, so that sweep takes about a second, (you can apply polish in both directions too.)
Proceed to do this all over the wood, so that there is a really thin coating on the wood, then go over it again. Do not try to build up too much coating at this stage.
Drying and hardening
At this point the hard shellac finish is on your work drying, but as the spirit/solvent is still evaporating out of the polish it's still quite soft, if you try to build up the coat too much and too soon you actually pretty much end up wiping off the polish that you've just put on.
So at this point put the rubber into a plastic pot, that seals (to stop it drying out), and go have a cup of tea or coffee, come back in 30 minutes and repeat the polishing in the same long streak pendulum motion.
More drying and hardening
After you've applied this second round of the step one steps you should have about 4 microscopically thin coats of shellac on your work piece, at this point it should have a dull sheen, but won't have a high gloss shine like a piece of fine antique furniture.
At this point you should leave the polish to dry overnight.
Grain filled
That first stage of polishing was filling the grain of the wood, now that should have been done you can move onto a more random polishing technique, moving the rubber in small circles, and figures of 8 across the work piece, again, building up the polish little by little, allowing it to dry, coming back and applying another coat, then leaving it to dry.
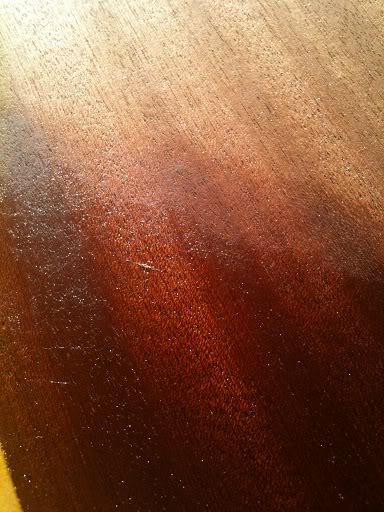
If you start on a Monday and apply a couple of coats of polish each evening, allowing those coats to dry to the next day, by about Thursday this is what you should have accomplished.
(I didn't polish the corner at all so that you could see the difference between polished and unpolished wood).
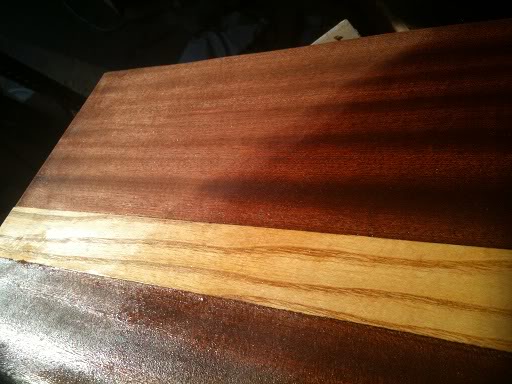
And by the following Monday
you should see this:
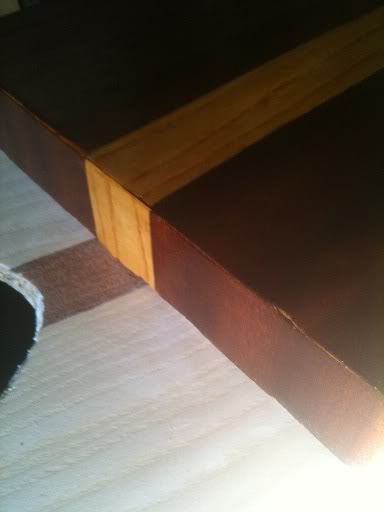
Again the top corner isn't polished at all, the other half from the picture taken on Thursday received no more polish, the bottom half (that's so shiny it's difficult to photograph, has a full week of polish.
It sounds like a lot of hassle, but remember this is a small piece so it's actually just half an hour a day really. (actually this small piece was a part of a much larger project, so it did take quite a lot of time, I didn't polish everyday, so some coats cured for longer than others).
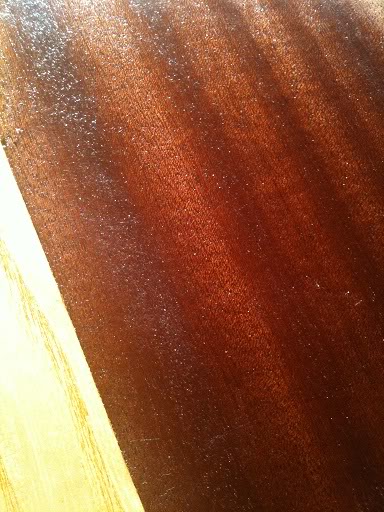
Comparing the polished wood to unpolished wood is below, (I stood in the way of the light so that it didn't reflect so much.
The finish
Your work should now have a shine a sheen and a deep lustre to it.
French polishing gives a durable finish, it's water proof and quite tough (after all the original spirit is properly evaporated), however it is still solvent in alcohol, so if you're thinking of making a bar, French polish probably isn't the most appropriate finish!
The polish that I used was an Amber polish, this means that the shellac flakes that made it were amber in colour, and as you can see, it has stained the wood. Shellac comes in a variety of hues, to if you're mixing your own, be sure to mix enough to do the job in one batch, don't assume that you'll be able to get the exact same mix again later.
If you're buying from a shop, be sure to make sure that if you have to buy more than one can, that you buy the same colour polish!
No comments:
Post a Comment