I'm running a series of Electronics tutorials, these are tagged electronics lessons, to compliment these I'm also going to run a series of tutorials called craft lessons, I'm calling them craft lessons as they will deal with a rather broad subject area, not just working with wood, but also metal, and other materials.
There are some basic joints in wood work, each have different strengths and weaknesses, some are easy to make, others require a little more time and skill.
Before you can really put anything together you really need to know how to put things together.
Butt Joint
In this joint two bits of wood are litereally butted up against each other and glued in place.
due to the fact that one piece of wood will likely be the end grain, the joint is particularly weak.
You can re-enforce this joint, either using wooden dowels, nails, screws, or even metal fixings that are attached across the joint to both bits of wood.
Lap Joint
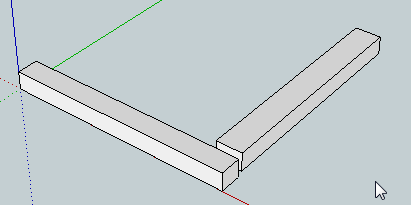
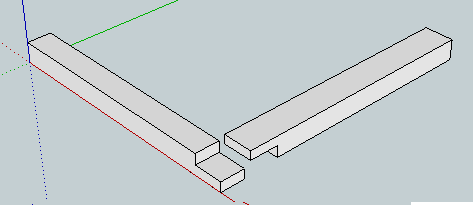
A lap joint is a little stronger than a butt joint, because there are the edges of the grain glued to each other rather then just the end of the grain joined to an edge.
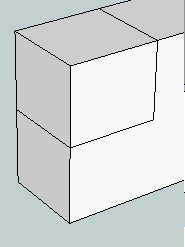
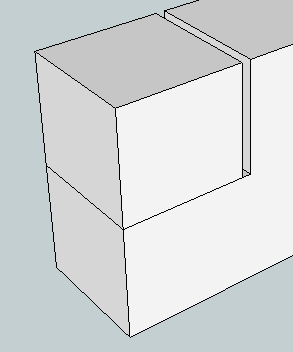
In a Lap joint the edges of the pieces of wood overlap each other, one on top, and one on the bottom, to create the joint you need to remove material from the underside of the top piece to create a cut out for the bottom piece to fit into, and you need to remove material from the top side of the bottom piece for the top piece to fit into.
To create a lap joint:
First, mark out the material that you wish to remove.
Second make a cut where your cut out will end.
Now you have a choice,
You can either us a chisel to try to remove the whole block at once, and sometimes this will work, other times the chisel will follow the grain of the wood and you'll end up with a pocket that's deeper at one end than the other, or you'll split straight through the wood and it'll all fall apart.
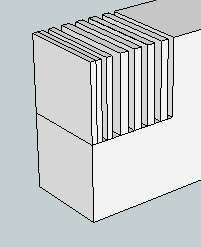
Or you can continue to make a series of cuts down your work piece to the depth of your cut out.
These comb pieces will either just snap off when any pressure is applied, or you can use a chisel to cut these pieces off, since there is a stop in the grain where you've made a cut, it's unlikely, or at least less likely, that the chisel will follow the grain and split the wood or make an uneven pocket.
Finger Joint
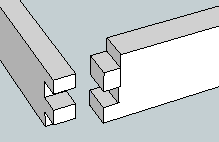
A finger joint is a bit like a lap joint, but with many more laps that interweave. You should use the same comb cutting technique to form the fingers, and chisel the fingers to remove the little comb pieces.
there's not a lot of explanation more needed.
Dove Tail Joint
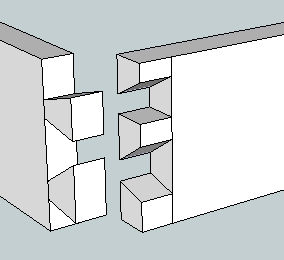
A dovetail joint is a bit like a finger joint, however, rather than interweaving the fingers are shaped in a trapezoid, (or like a doves tail) so that they interlock, and are much much stronger.
Dove tail joints, to my mind, are the nicest looking of all the joints, a lot of other people agree with this point of view which is why the joints are used on furniture the world over.
You can use a router bit that's tapered to cut both sides of the dovetail joint, or you can cut into the wood and create little combs that you can remove with a chisel, dove tail joints are difficult. to make. if you look at the picture below you'll see that they are even difficult to draw!
Tenon Joint
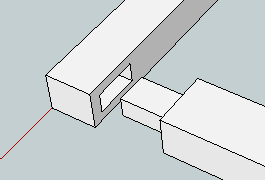
Tenon joints have been used for years, they are incredibly strong. In fact if you're ever able to look in an old barn with an oak frame you're likely to see tenon joints all over the place, with perhaps a few pegs just driven in to hold them in place, but no glue!
The tenon part of the tenon joint is like a peg on the end of your work. to create this you need to cut into your work from all four sides (though you may like to cut only three, or two, or one side away. you might even wish to not cut anything away and just use the whole end of your work as the tenon!).
If you are cutting away use the same technique as for the lap joint above, lots of parallel cuts to form a comb looking thing that just breaks away with your hand.
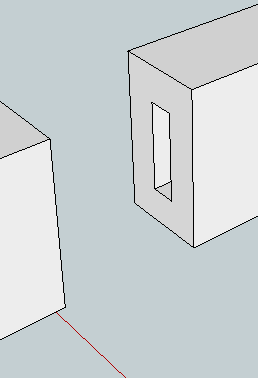
After you've created your tenon, you need to create a hole for it to poke into. this hole is called a mortise.
To create the mortise:
Firstly, you can use a mortising tool, this is a kind of combination drill bit chisel that you press into the work and it cuts a perfect square. Now, I don't have a mortising tool, and if you're reading the idiots guide to puttin' shit together's simple guide on woodworking joints, then I'm guessing that you don't have a mortising tool either.
So lets go over the tried and tested, centuries old way of creating mortises.
First, As always, mark your work piece to show you where you need to cut.
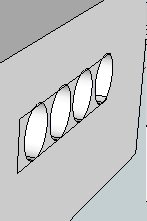
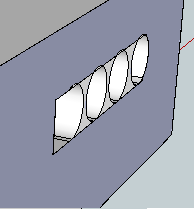
then drill a series of holes next to each other inside the square that you've marked.
start at one end of the mortise and use a chisel, to cut straight down along the edges to make the corner square.
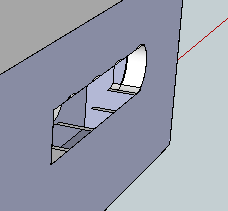
Now continue along removing all the bits that were left between the holes.
until you're left with a square hole, that should be the same size as your tenon.
Now put glue in the mortice, and put the tenon into the mortice, clamp it up and wait for the glue to dry.
Again, tenon joints can be strengthened by nails, screws dowels, or other metal fasteners.
Biscuit Joint
Biscuit joints are a relatively new thing on the wood working scene.
Basically, to cut a biscuit joint, you cut either use the same process as cutting a mortice, or use a special tool called a biscuit cutter.
You can also get router bits that are used to cut the slots for the biscuits to go into.
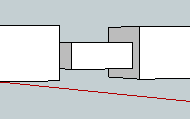
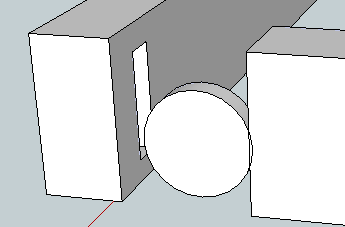
Once the slot is cut into both bits of wood, glue is applied into the slots and a piece of wood called a biscuit is inserted into the slots, and the pieces of wood are glues together.
The biscuits are made of a dried compressed wood. This means that when they are inserted into the slots that are filled with glue, they soak up the glue and expand to fit tightly into the slot. This makes the biscuit joint very strong.
There endeth the lesson.
No comments:
Post a Comment