The idea for this coat stand was sent to me by my friend who said I should make one for my daughter. I forget the exact link to the inspiration, but I do remember it was on Ana Whites website called "Knock off Wood, free woodworking plans for furniture http://ana-white.com/"
If you have a few days you should definitely check out that site, it's chock full of amazing furniture, includes plans.
You don't have to follow the plans, you can be like me and decide to make your own plans up in your head to build approximate versions of stuff on the site.
Anyway, now that I've covered where the idea came from it seems only right to give a little background.
Design
At the time I made this coat stand my daughter was about 3, she was getting to an age when you should care about your stuff, and start hanging up your coat etc, but not yet at an age where she could reach regular height coat hooks.
So the solution was obviously to build her a coat stand more suited for her.
This means that it should have pegs reachable by a 3 year old who stands about 3 feet tall, (so the height of the stand is about 4 feet, so she'd have to reach up at the start, but would not immediatly outgrown the stand.
I decided that the coat stand would need four pegs that would be at her current arm height that she could hand coats on, and a further 4 hat stand type pegs, to put hats on of course. As she grew the hat stand pegs would eventually become coat pegs.
So the parameters for design are:
four coat pegs, at about 3 feet from the ground, four hat pegs about 1 foot above the coat pegs, a stable base is a must.
Materials,
I decided that I'd use softwood to make this coat stand, it's easy to work with, and has a variety of finishing options from plain no finish, or varnish, to any colour as it's easy to paint.
The pegs I decided would be made of dowel. (12mm dowel so that they would not easily snap)
To build with nice proportions of 12mm diameter dowel pegs I decided that 48mm square pine was the best wood to use.
Onto the build
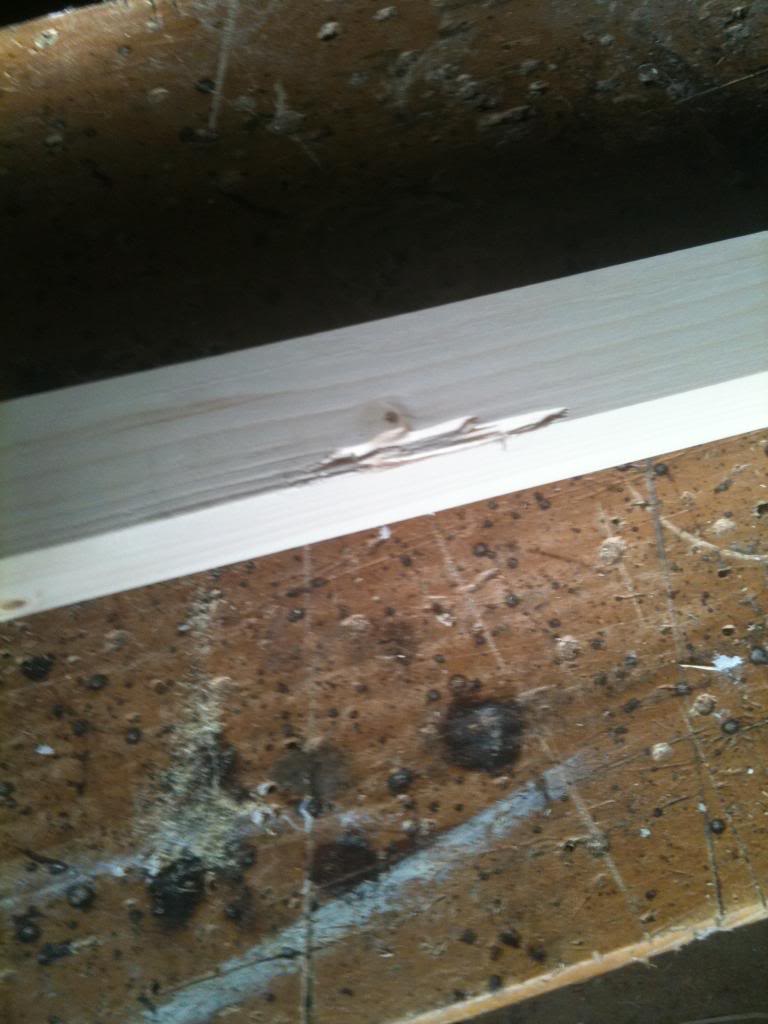
So the biggest gripe I had with the materials was the condition that it was in. I bought square planed timber from Wickes, this should be ready to go. if I'd bought rough sawn wood I'd agree that imperfections were ok.
So the first job was to inspect your materials and work out what I could do to cut out imperfections. like this:
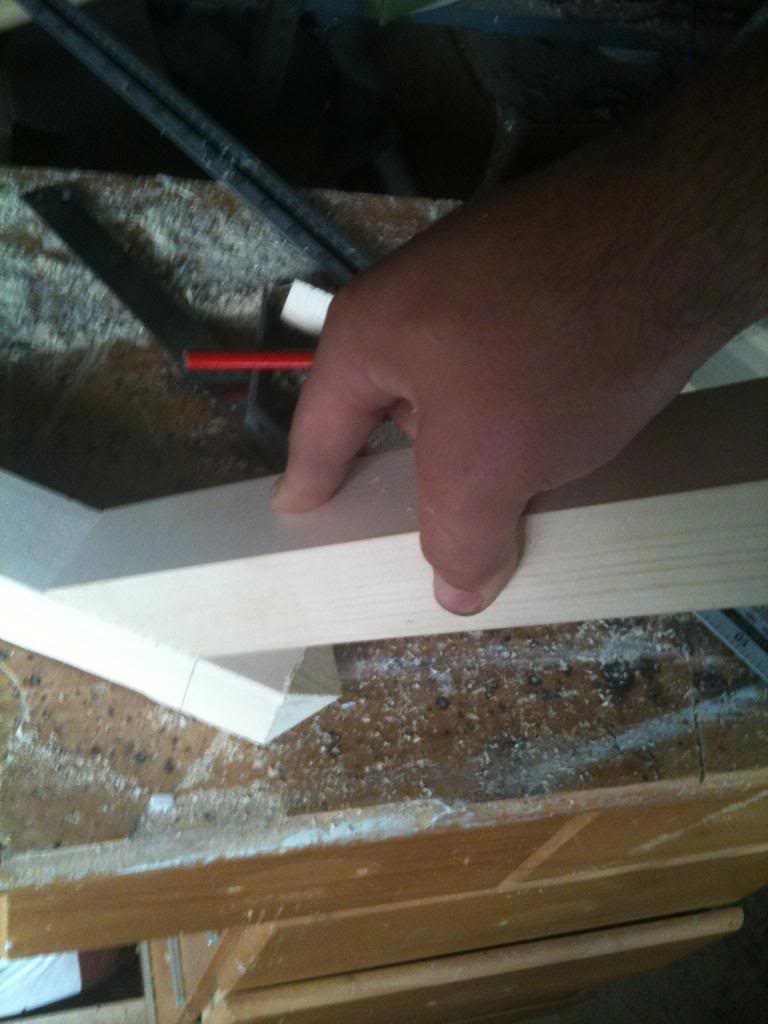
Once I'd decided the best cuts for the wood (and there is no exact science for this that I'm aware of) I started cutting, setting the blade of my saw to 45 degrees I made a cut around 14 inches down the length of the wood.
then set the blade back to 90 degrees to make the next cut again about 14 inches down the length of wood.
This will gave me two bits of wood, with one square cut end, and the other end cut at 45 degrees.
Repeating the above gave me four of these. these will be the legs of the coat stand.

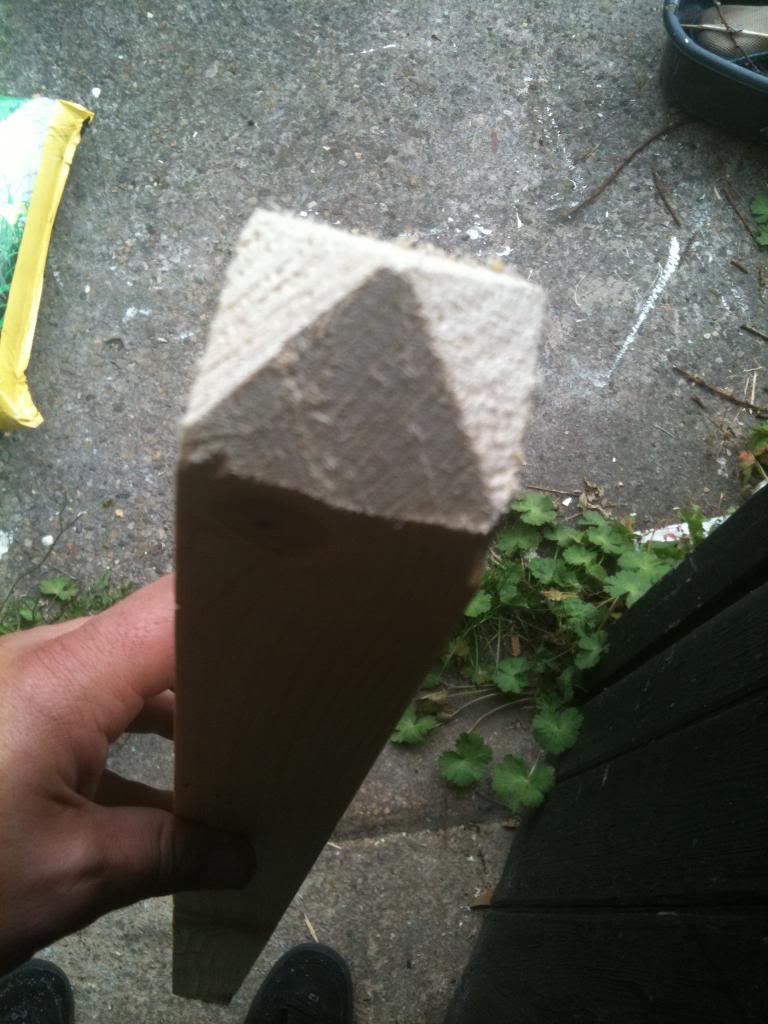
Next I made a 45 degree cut in the remaining (approximately 1 meter) length of wood.
Then flipped it over and made another 45 degree cut, then 2 more cuts and I had a square point.
I did this at the top and the bottom
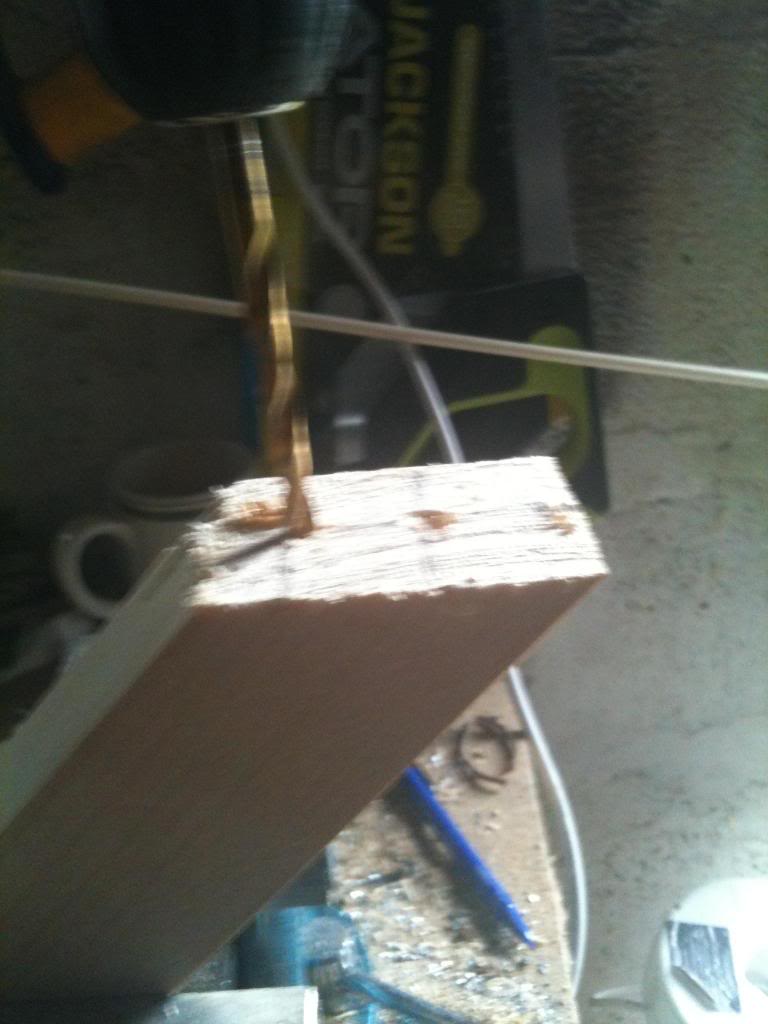
Next I marked a ring about 1.5 inches from the bottom of the base of the point, this is where the legs will attach.

And a further ring about a half inch above that, (and another about an inch after that)
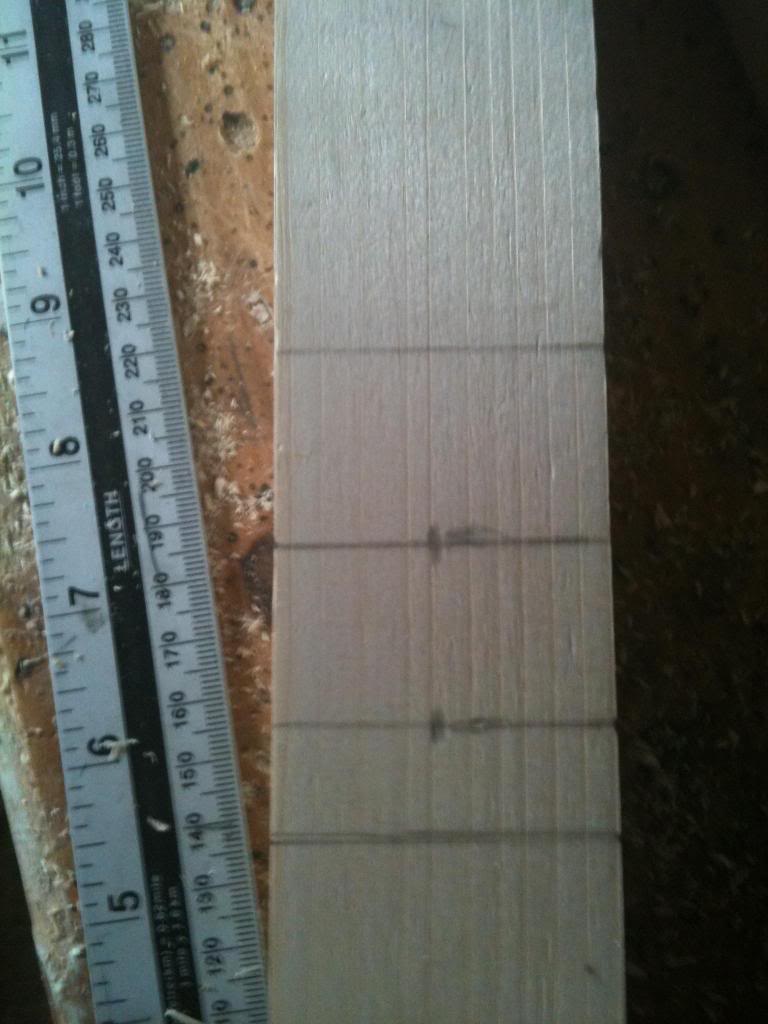
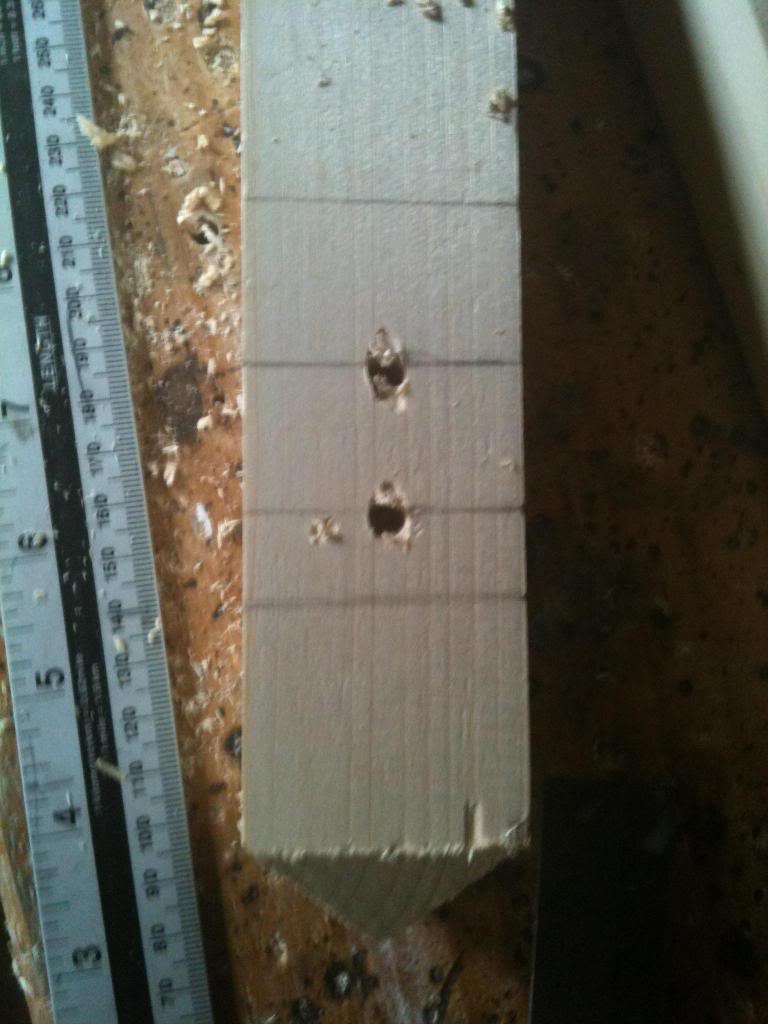
The centre of these lines are drilled with a 6mm drill bit, (ready to recieve a dowel peg to make a strong joint)
Back to the legs.
Clearly the 45 degree cut is what will butt against the centre poll that I've been busy marking and drilling and making pointy.
But the legs do need some further work, and the moment the base will be the corner of the block of wood.
so I set my saw back to 45 degrees and cut an angle in the opposing direction to the mitre that will face the centre poll, then I cut again to smooth off the top of the leg.

I now marked and drilled the long mitred face of the leg, to recieve dowel pegs and glue.
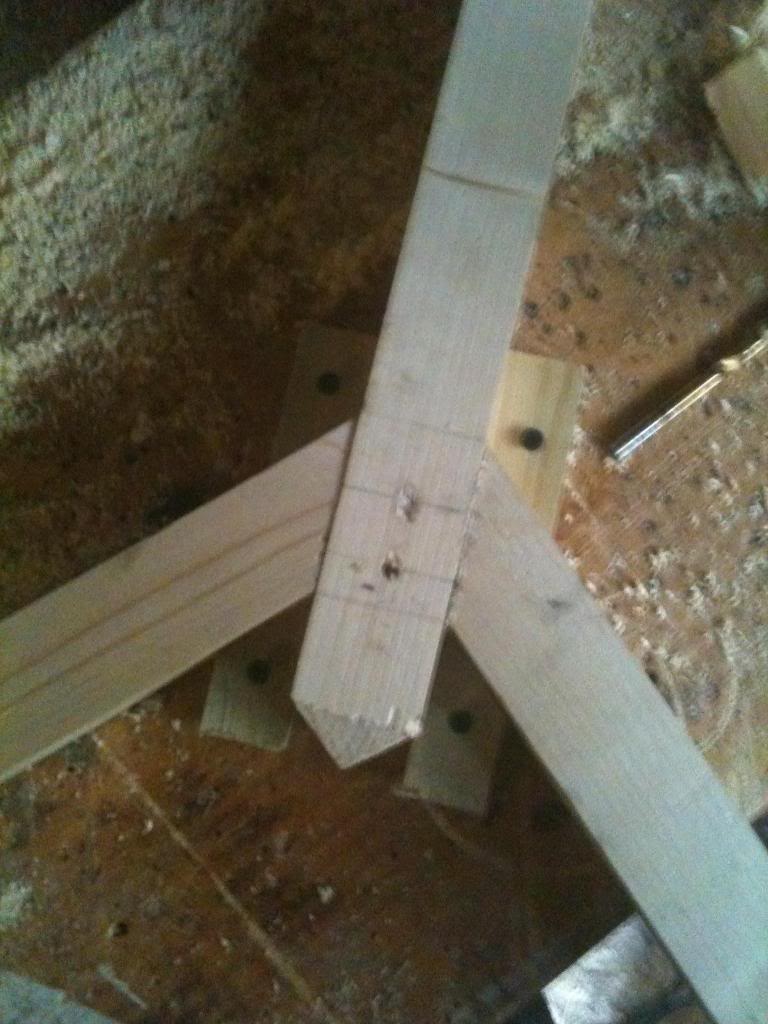
Now I did a dry test of matching the joints (A dry test is where you put it all together without glue, this allows you to make any final adjustments before it's too late!!)
Finally I put dowel pegs and glue on the joint.
I set the first two joints against a table using wooden blocks screwed to the top to clamp it in position.
The final two legs were arranged with the blocks clamped to the centre stand, then the leg clamped to the blocks, (allowing the odd angled leg to be clamped to the stand)
Finally I drilled 12mm holes in the stand at about 4 feet from the floor. a hole going straight through, and another hole about an inch higher going through the other way.
Then I glued an 8 inch length of dowel into the holes, (with 3" sticking out of either side")
The hat pegs were drilled into the top of the stand, (about an inch and a half from the top, so the pegs are about as far along the centre poll as the legs are up it).
I don't have a drill press with a moveable table so I used a set square, and roughly lined the drill up to drill coat pegs at an angle into the top of the stand.
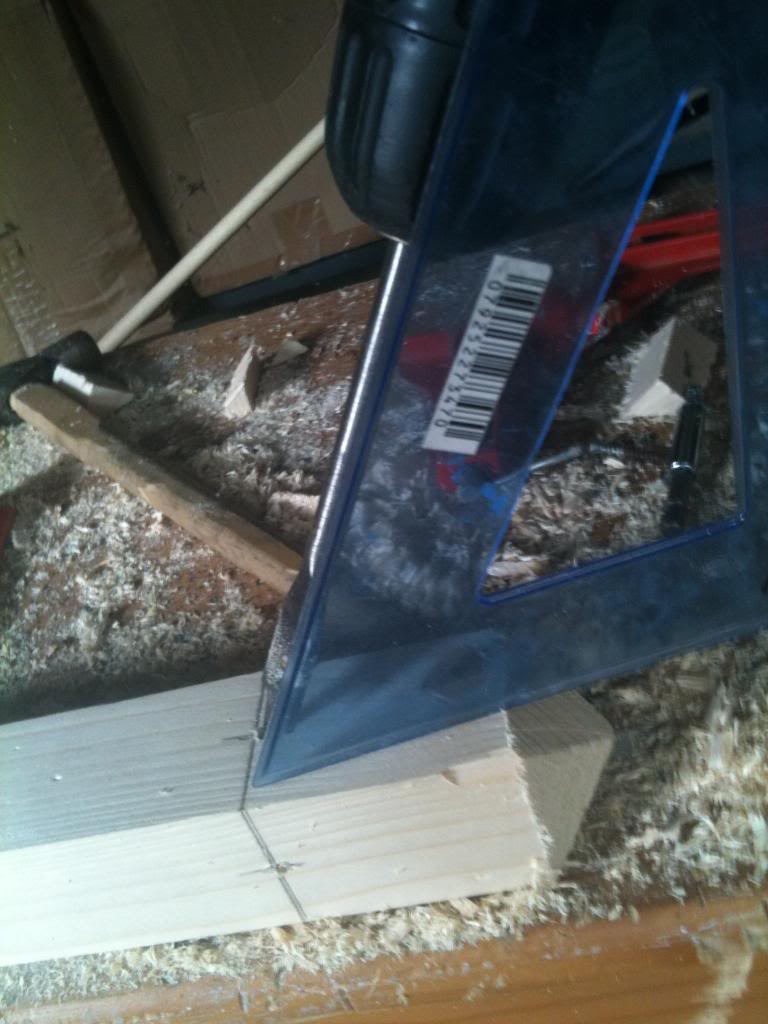
Lengths of 12mm dowel we then glued into these holes.
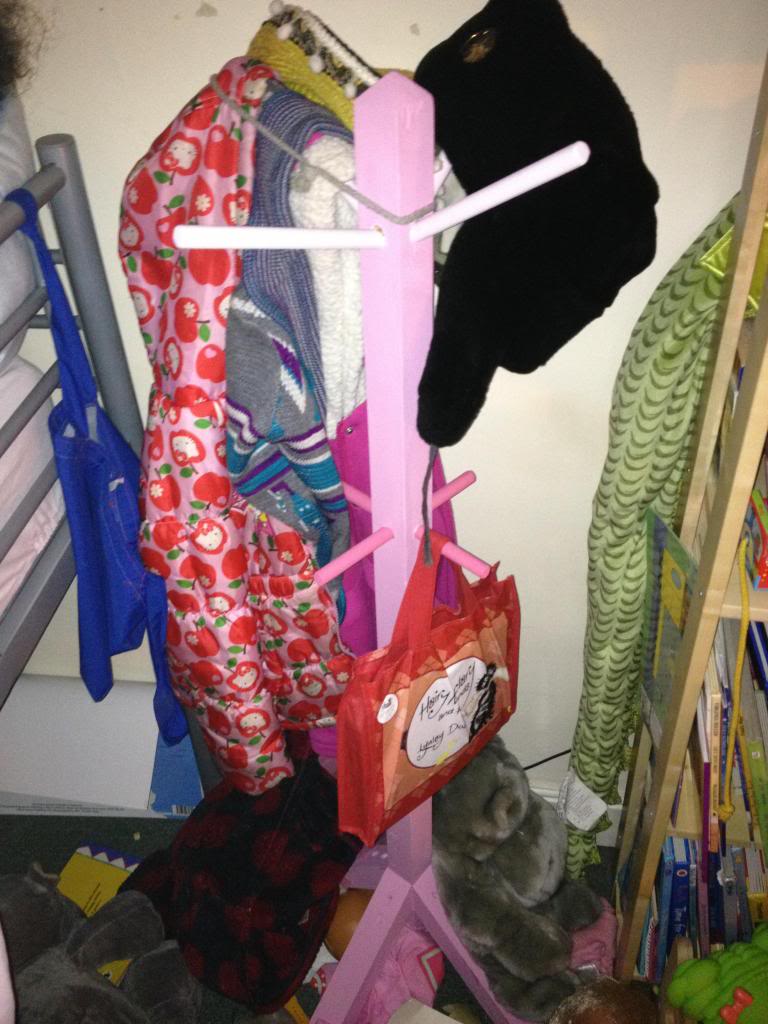
Finally the coat stand was painted a pastle pink colour.

No comments:
Post a Comment