I thought that as valentines day is soon that I'd go through the design steps for the box in Creo Elements so that you can make your own.
The first, (and perhaps most important thing) is that there is no grid function in creo elements, there is a snap function, but there doesn't seem to be a way of showing a grid on the work plane that you're currently editing.
This means that I end up drawing construction lines all over the place.
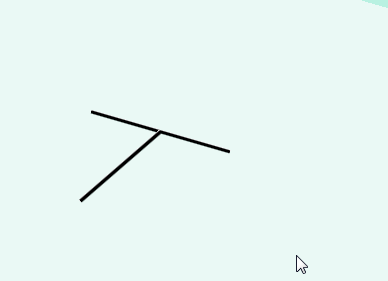
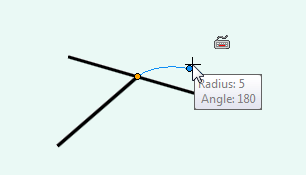
So, your box should start with a line.
20mm long,
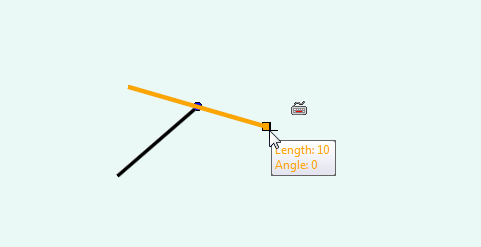
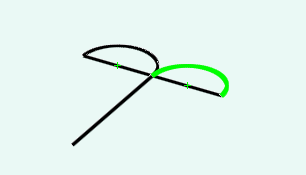
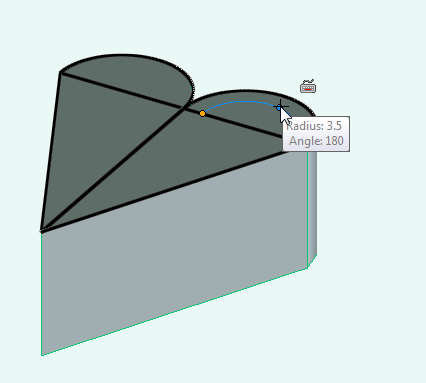
Then in the line of this line, draw a line 20mm long perpendicular to this
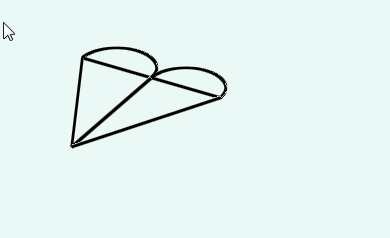
Finally the straight line tool is use to finish the rough heart shape connecting the arc to a point at the bottom.
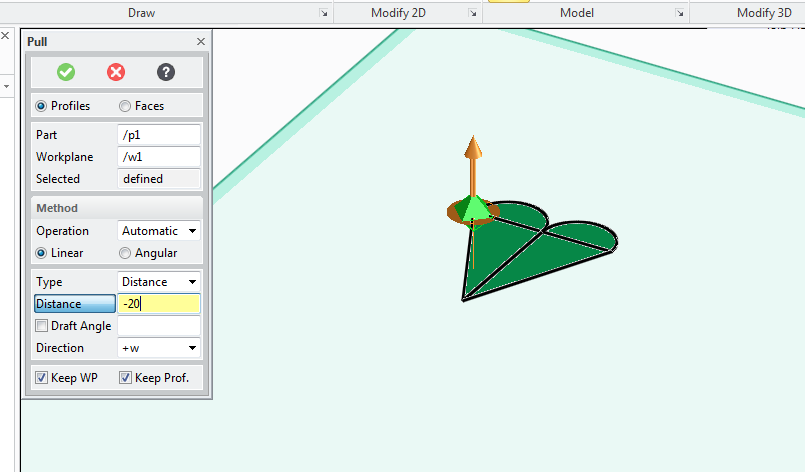
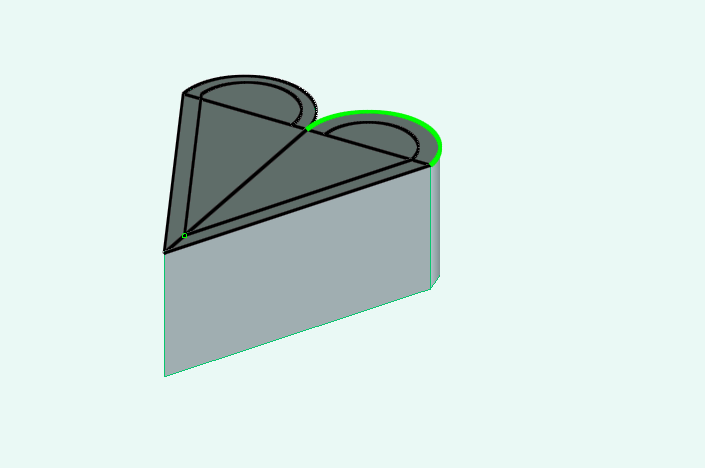
I then use the pull tool to make the box 10mm deep.
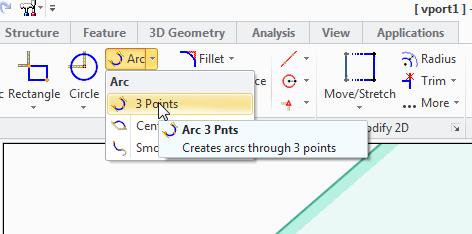
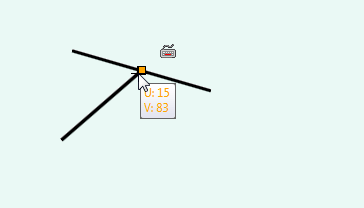
Then start again with the arc tool, this time make the arc start 1mm in from the egde and at leach side, and the arc 3mm in radius.
Then connect the the new arcs together with a new arc (where the round bit points downwards.
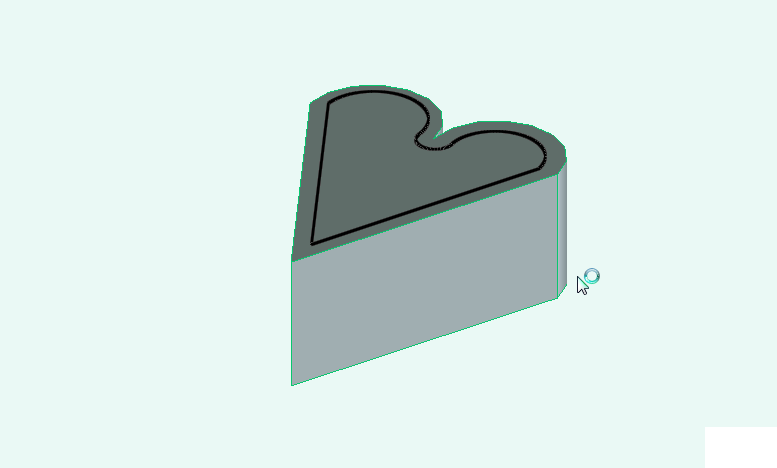
Finally remove the heart on the outside
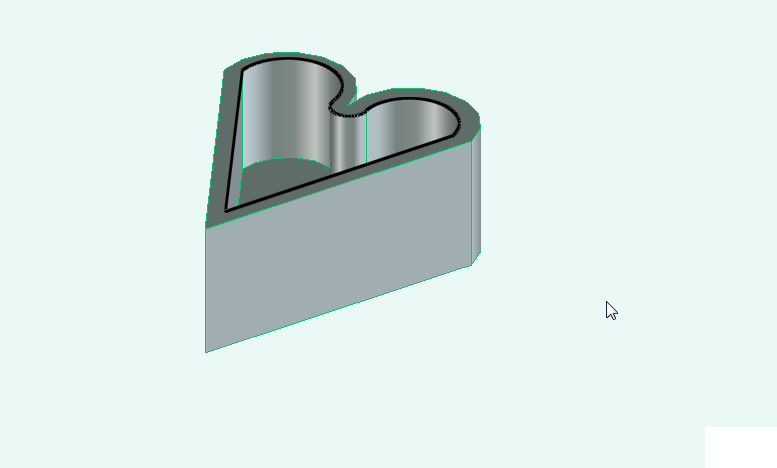
Now use the pull tool again to sink the top of the box 8 mm into the box.
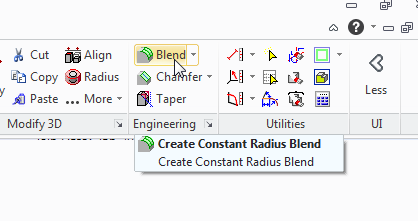
Finally use the blend tool,
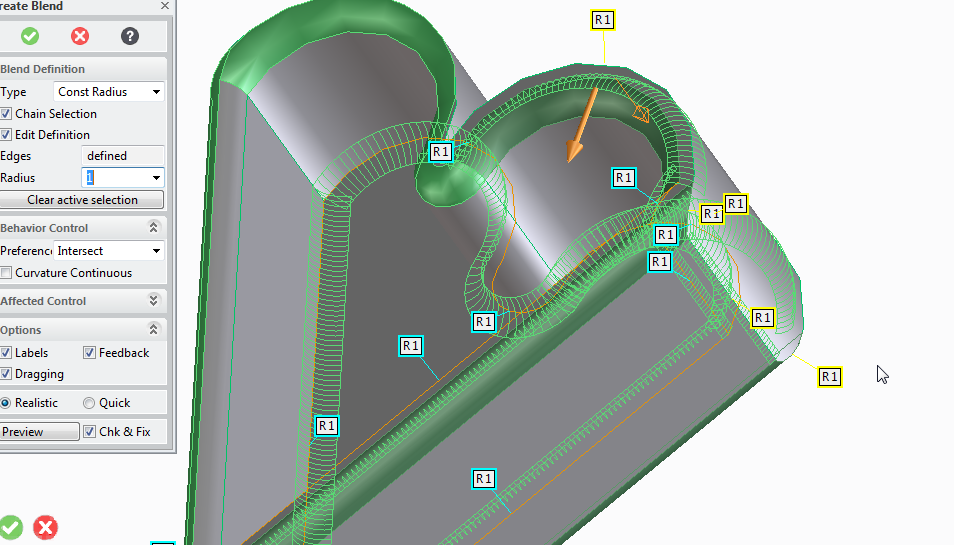
Set the radius to 1mm, and click on every sharp corner to smooth out your model.
I also made a lid for my original box.
You can get the STL from the post I made in this thread of the solidoodle users support forum.
http://www.soliforum.com/topic/468/heart-shaped-box/
No comments:
Post a Comment