Having chewed a couple of blind slats, the blinds now have to be changed, since I was doing this anyway it seemed only fitting that I should write and post up a small how to do this, there will be plenty of pictures.
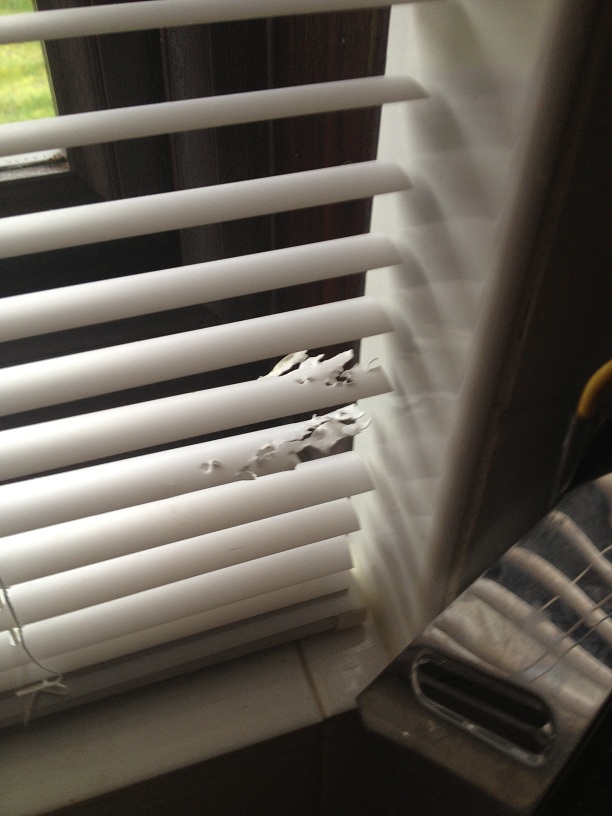
Firstly, this is the damaged blind slats.
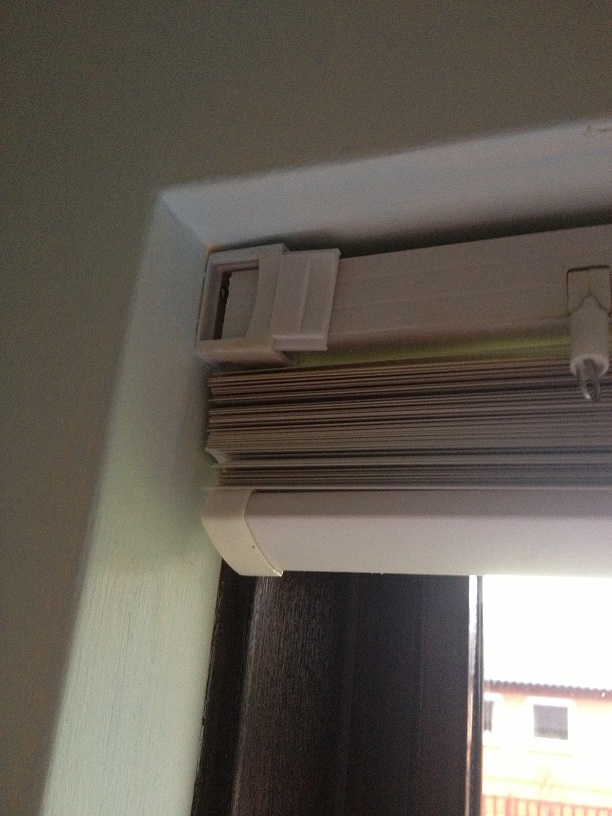
To remove the old blinds look at where the blinds are hung on the wall, these binds, (originally from B&Q) have a small sliding door that you open to be able to remove the top of the blind from it's bracket.
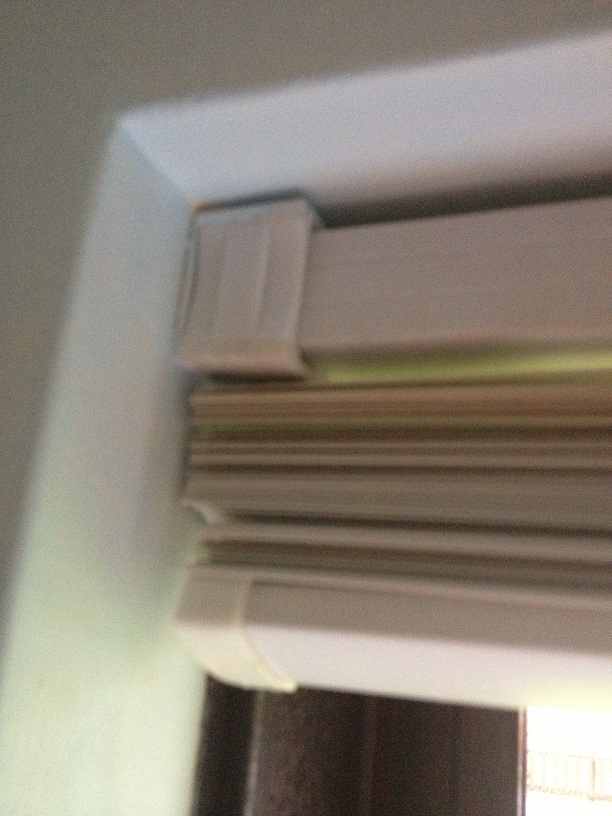
Once the door is opened the blind can be removed from this end, and will come out the other end without the need to remove the door on that side.
When you are buying the replacement blind you are pretty unlikely to find a blind that will fit your window perfectly, (you'd think in a fairly modern house where every house looks like the last, the people who make cookie cutter houses might have talked to the people who make binds and maybe decided on what a good window size was, but apparently that would have been too hard.
So start by measuring the width of the window (left to right) in this case the window measured 115cm you then need to measure the height of the window from top to bottom, this is called the drop and for the blind I'm changing the drop needs to be 103cm
Then you need to go to the shop and buy the closest fitting blind, in my case this was a 110cm wide blind with a drop of 180cm.
Once you've purchased your blinds, you'll then need to go about making them fit.
Making them fit width wise is pretty easy, (but very time consuming.)
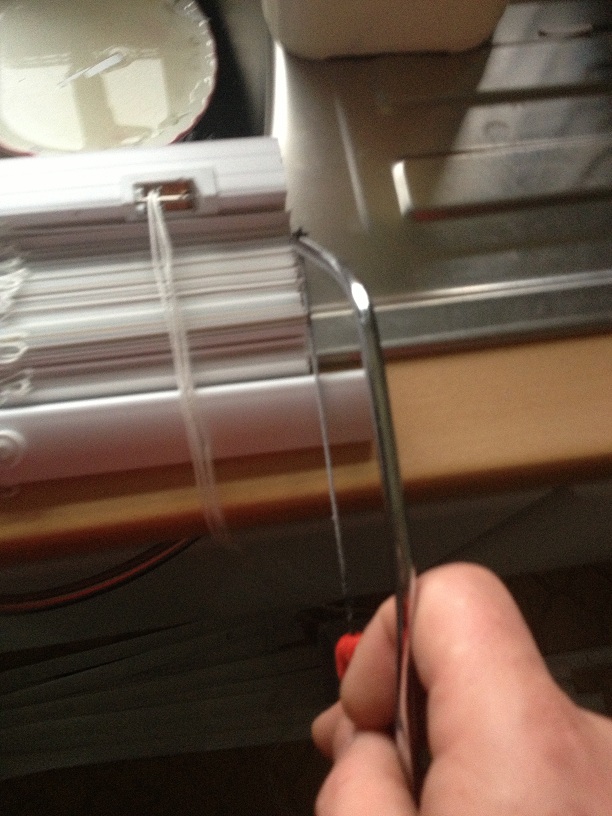
I need to shorted my blind by 7cm, this means removing 3.5cm from each side.
Start by using a small hack saw to cut 3.5cm from each end at the top bracket part that holds the strings, then using scissors, but 3.5cm from each end of each and every slat -I did warm you it was time consuming!!
Once you're done altering the top bracket and the slats, you now need to shorten the bar at the bottom.
To do this you need to remove the plastic end caps -which should pull off, then as before cut 3.5cm from each end with a saw.
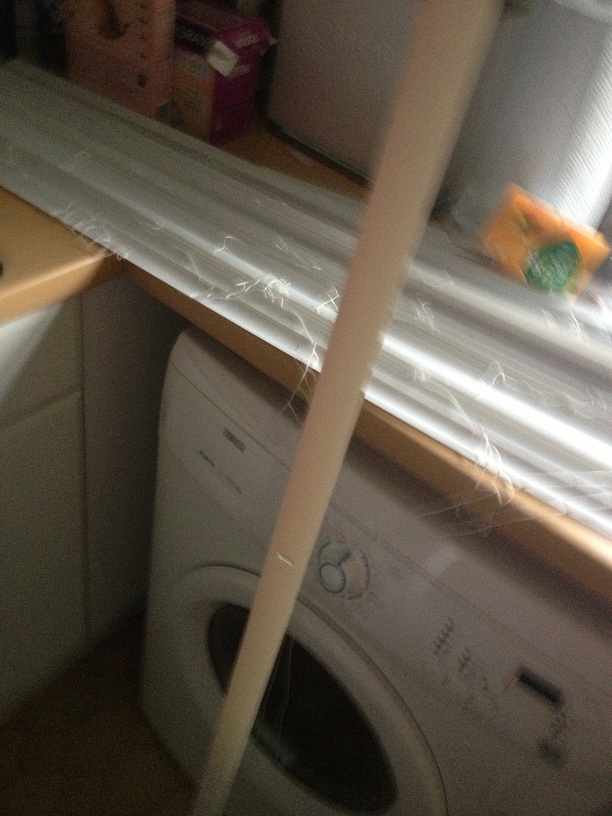
now that the blind will fit into the window recess, put the blind into the bracket, and the top and let the blinds go down, the drop of the blinds is still far too great for the window.
chose a slat that's a couple of slats lower than the slat that you think should go at the bottom, (the aim is to have a couple of slats sitting on the bottom bar so that the blind doesn't distort when you change the slat angles.) mark this slat, a big black marker pen will do the trick, or cutting it up with the scissors.
Now take the blind out of the windows and rest it on a large flat surface.
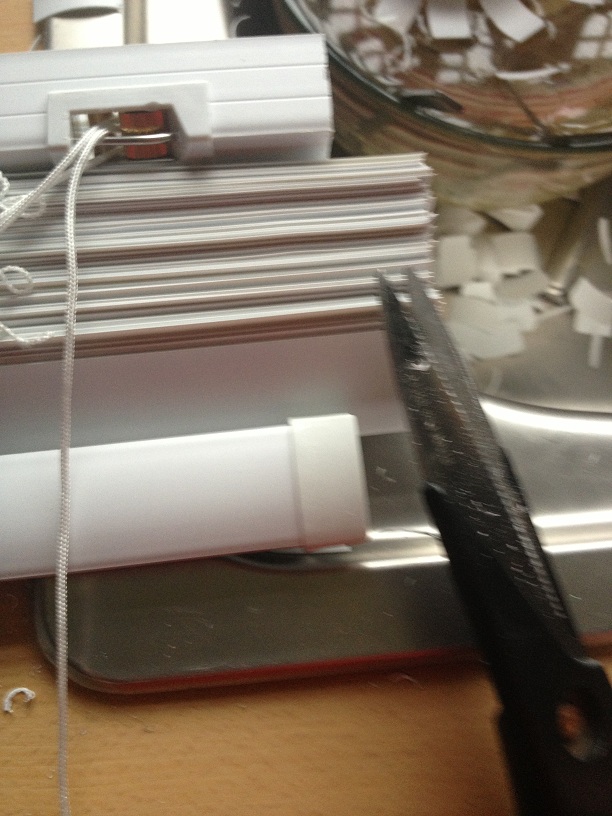
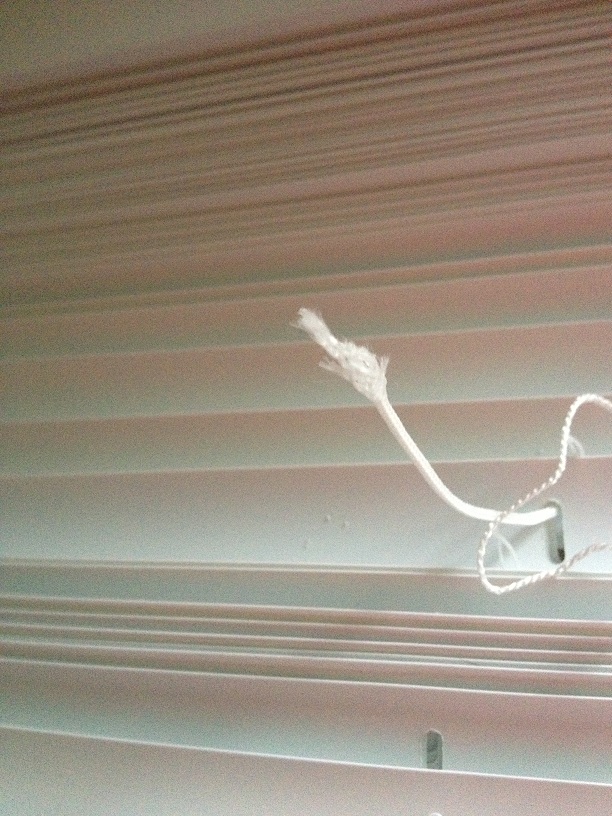
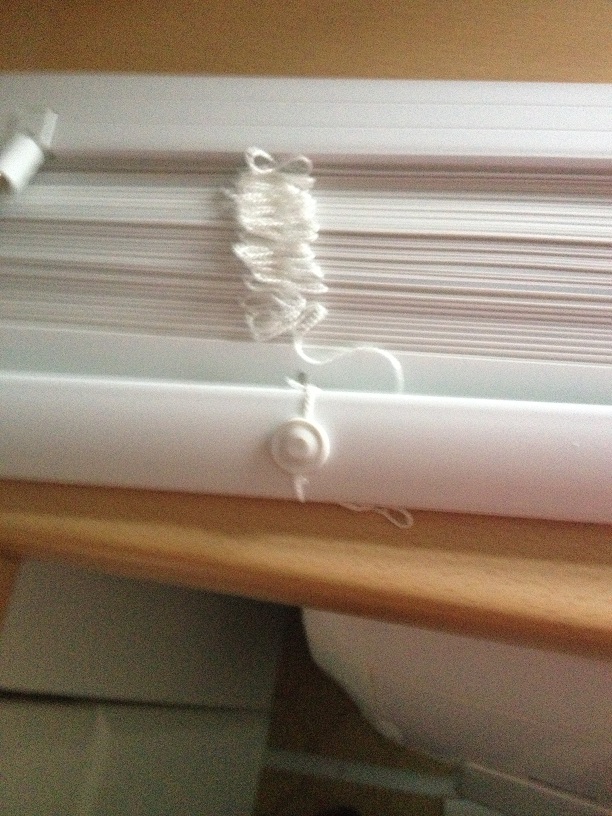
The bottom bar has a series of white plugs in it, these need to be prized out so that you can get the the pull strings for the blind.
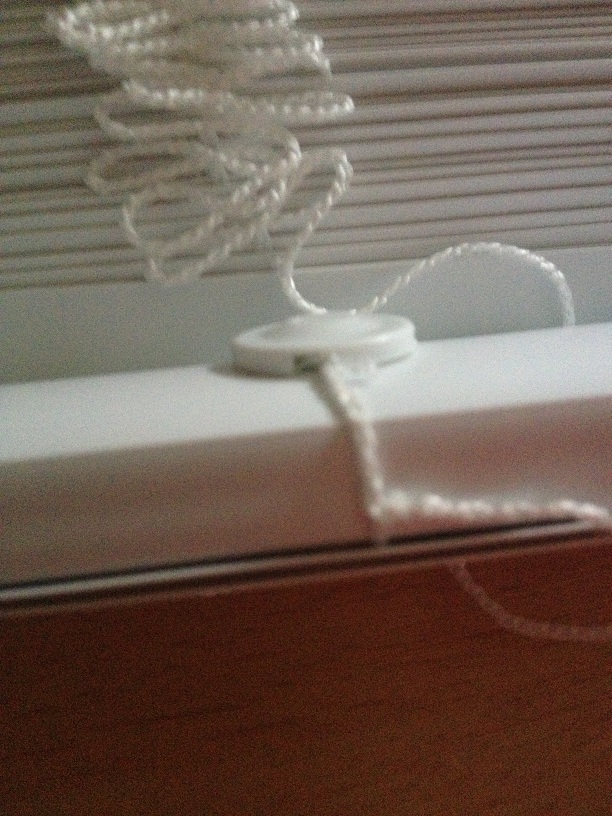
the bar will now be held in the threaded ladder part of the setup that controls the blinds angle.
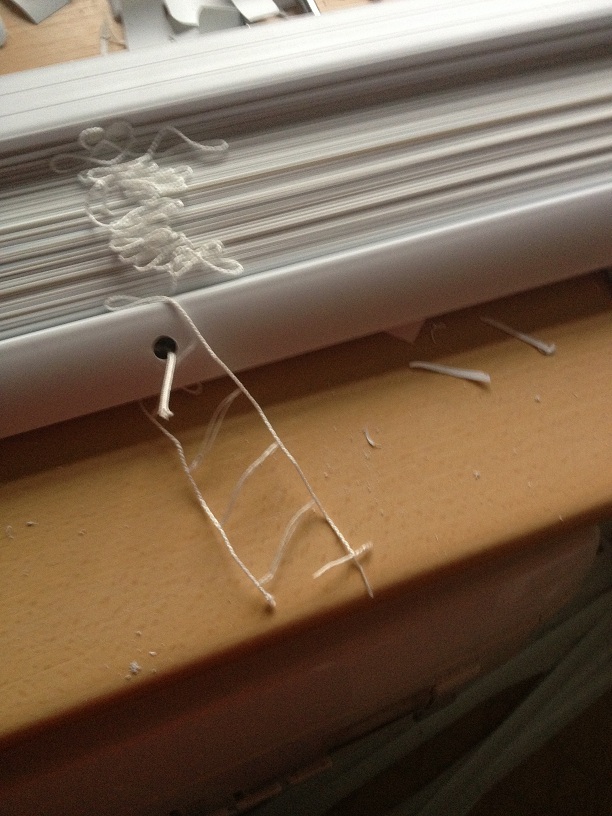
Pull the main threads out of the slats, up to the slat that you marked, (clearly do take out the slat that you drew all over!) then pull the slats sideways out of the laddered thread.
now slide the bar into the place on the laddered thread where your marked slat was, and thread the pull strings back into the bar.
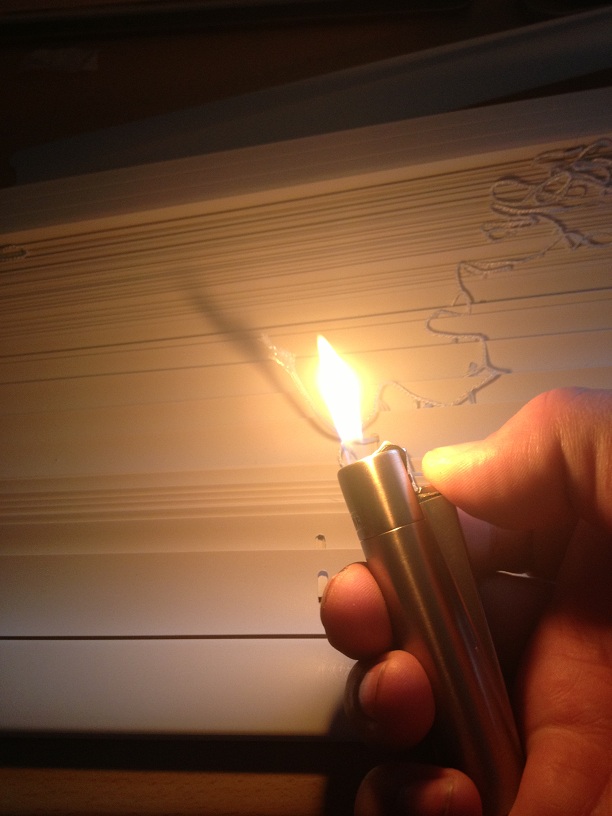
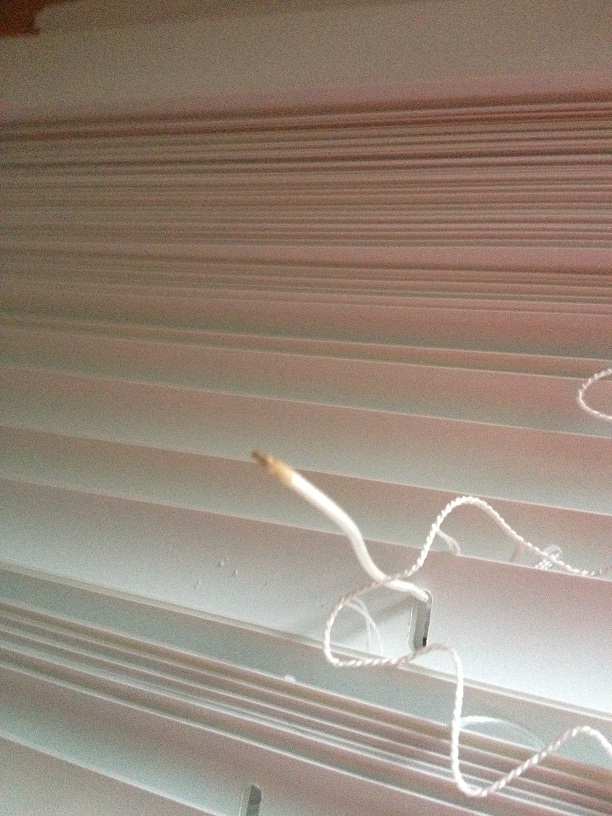
(if you cut the nylon pull strings, then make be frayed now. use a lighter to heat the frayed end of the nylon cord, then whilst it is still warm quickly twist it between your fingers.
(if you cut the nylon pull strings, then make be frayed now. use a lighter to heat the frayed end of the nylon cord, then whilst it is still warm quickly twist it between your fingers.
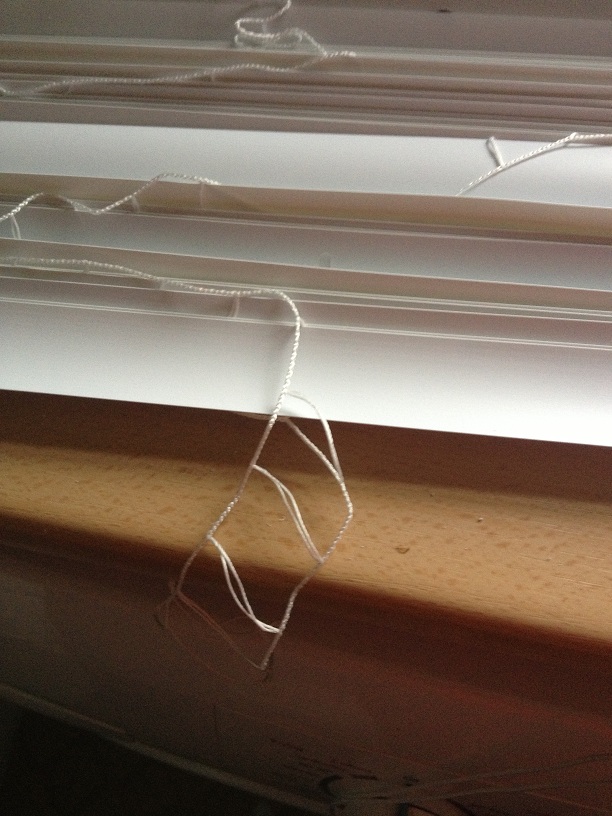
Once you've threaded the draw cord through, you'll need to tie a small knot in the string so that the bar will sit on this and raise/lower with the string.
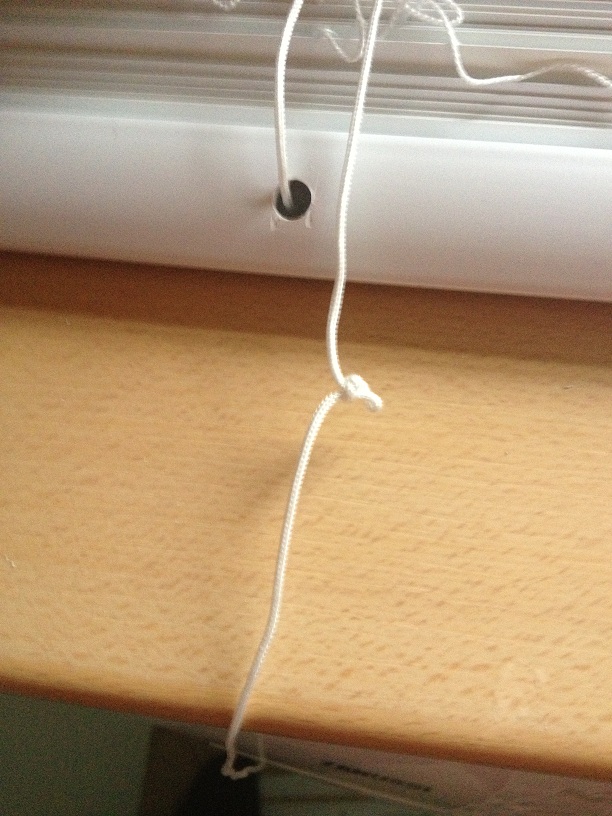
Now you can poke the end of the string into the hole in the bottom of the blind, twist up and poke in the dangling thin ladder threads into this hole also. then pop the small cap back on to hold the threads inside the bar.
Finally hang the blind into the brackets that were already on the wall, and adjust the draw strings as necessary.
(to adjust the draw strings pull the knot from the toggle and tie a new know further up the draw string for the toggle to rest on, and cut away the draw string that is spare.)
Finally, step back and admire your handy work. :)
the blind slats that were removed can be kept for the future in case the cats decide that they would like to have a chew on the blinds again :)
2 comments:
Very nice and informative post that discus about blinds. I really love reading this post a lot. We deals with the similar niche and facilitates world class venetian, vertical and roller blinds for sale Auckland New Zealand at very reasonable price. Thanks a lot for sharing such informative post.
Hello, an amazing Information dude. Thanks for sharing this nice information with us. Security Roller Shutters
Post a Comment