Rather than go out to the garage and get busy with the jigsaw/sandpaper and paint like I once would have I decided that I'd have a go at printing some letters that could be stuck to a door.
So this is a step by step guide on how to create letters and a door sign, from design to creation.
Modeling
First you're going to need 3d modelling software, this blog post will explain how to use the Creo elements software since that's pretty good and free.
Open the package, as before you see your work plane and nothing else,
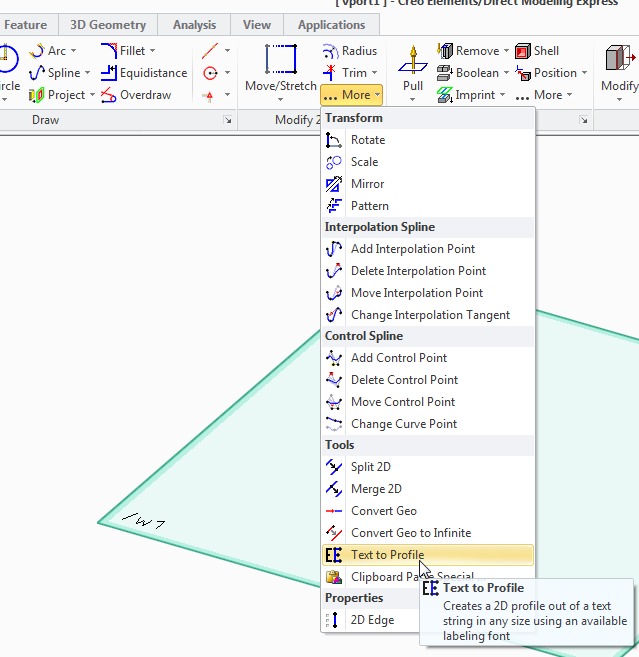
in the 2d toolbox click on the more button, and then select "text to profile" tool.
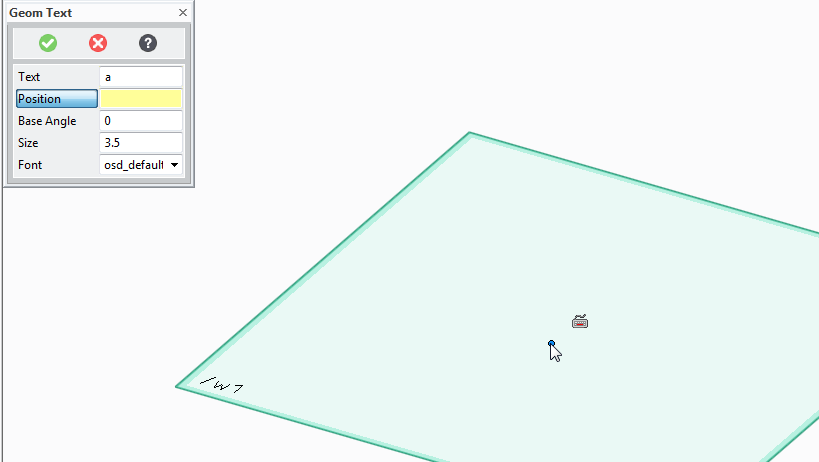
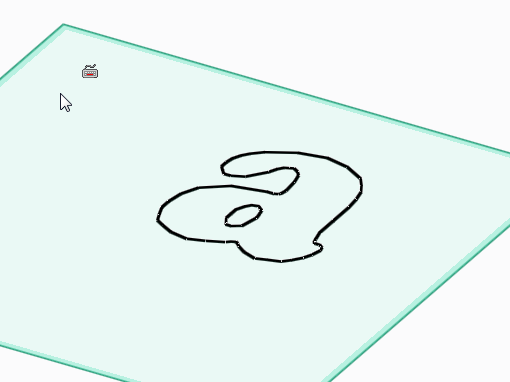
As an example I've put the letter a
Now you press the position button and select where in the work plane you want the letters to appear.
(click somewhere in the middle)
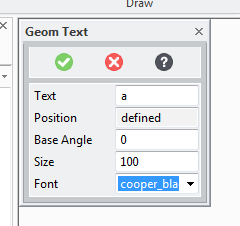
Now you need to define the angle that the letters will be at (zero is probably fine!) the size, -I want them large for sign so I choose 100, and the font.
Once the letter is on the page we're going to need to give it some depth.
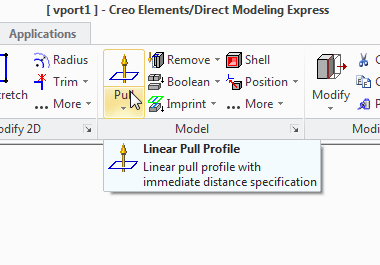
So use the pull tool:
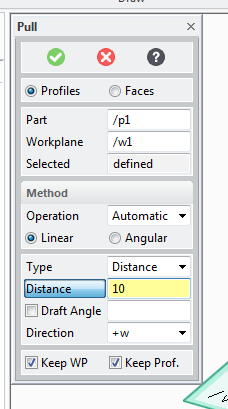
And select the pull width to decide how fat you want the letters to be:
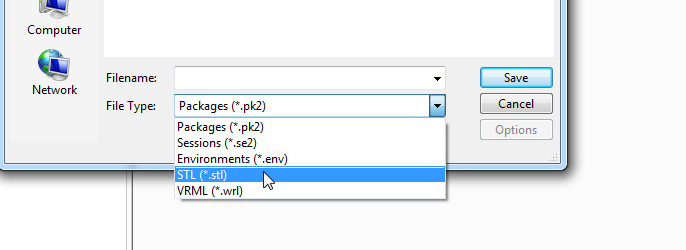
Now delete the work plane ans select save.
change the file type to STL
type a file name and press save.
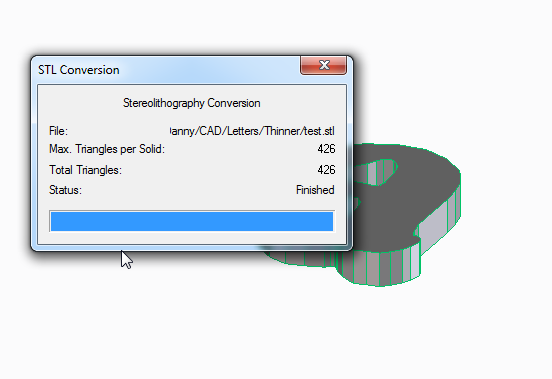
You can close the STL conversion box that appears.
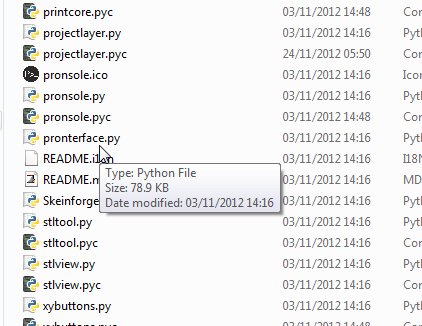
Now launch pronterface by running the pronterface.py file
you now need to access the model slicer.
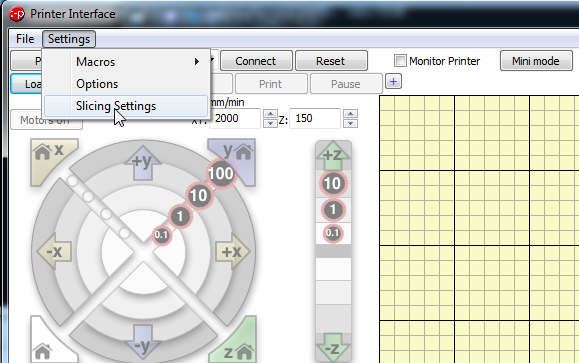
select settings, slicing settings
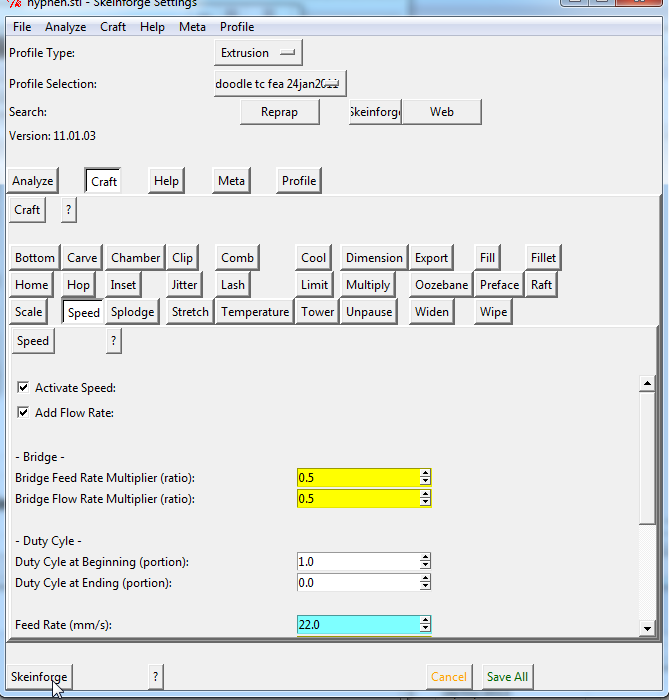
This opens a new window called skeinforge,
click on the skeinforge button at the bottom to open your model
Select your STL file and press open.
Now Wait...
...
...
Two new windows will appear, these describe in a colourful way how the models will be built. you can close these windows now.
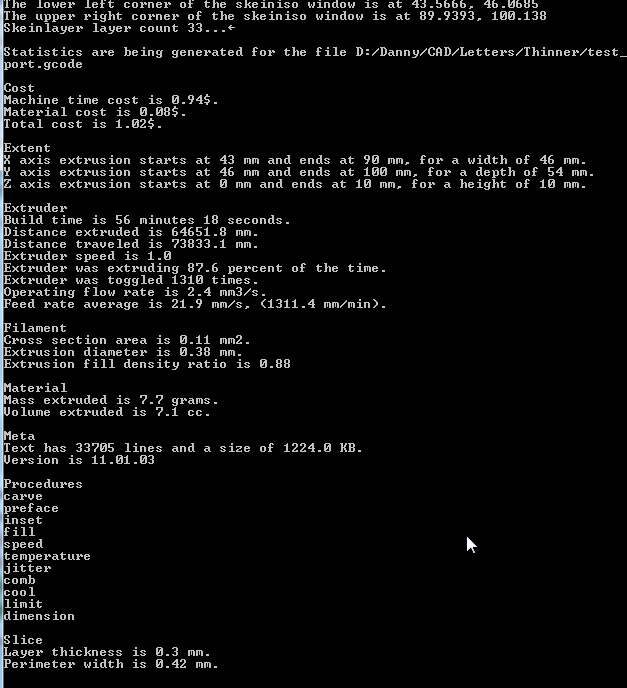
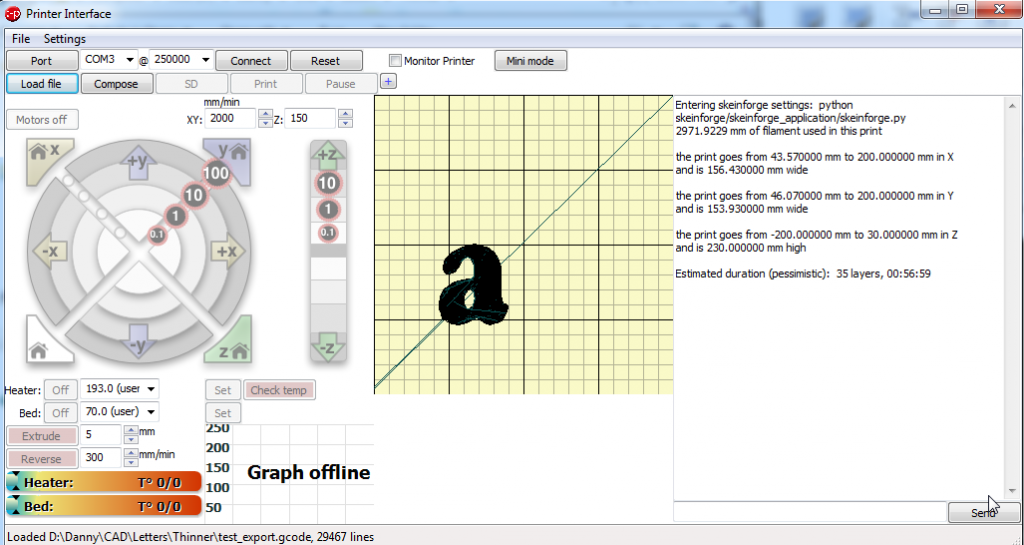
Now if you look at the python command line window that is open you can find some interesting things about your print that's going to happen, (like how much material will be used, how long it might take to print etc.
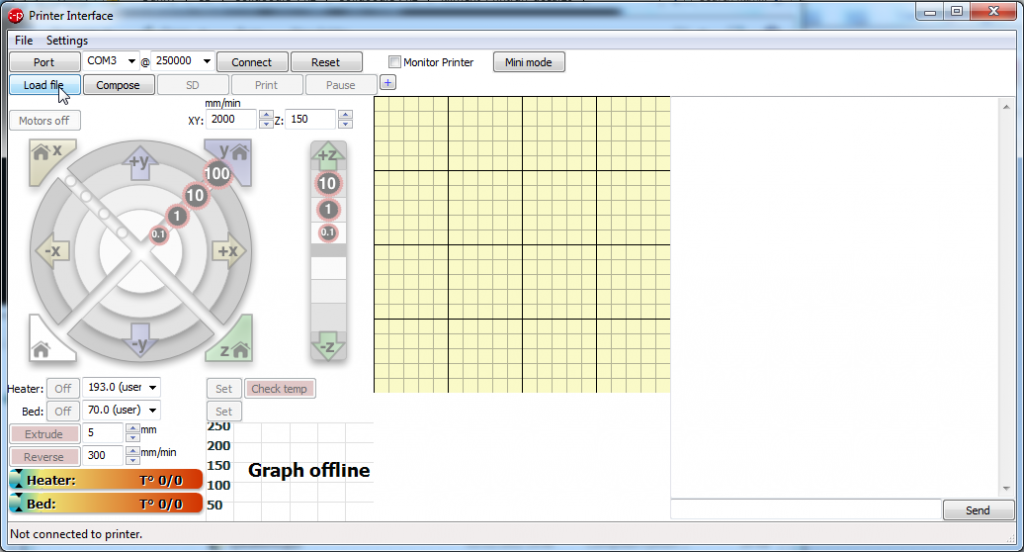
Now you should be looking at the pronterface screen again, select load file and open your file:
You now get a picture showing you how your file will look and where it will be printed on the bed.
Make sure that you have the correct com port set, and press connect.
Check the box that says monitor printer (in-between reset and mini mode)
now press set on the bed temperature.
watch as the actual temperature line ramps up to meet the target line.
When the bed has heated up, click set on the heater button, watch as the nozzle comes up to temperature.
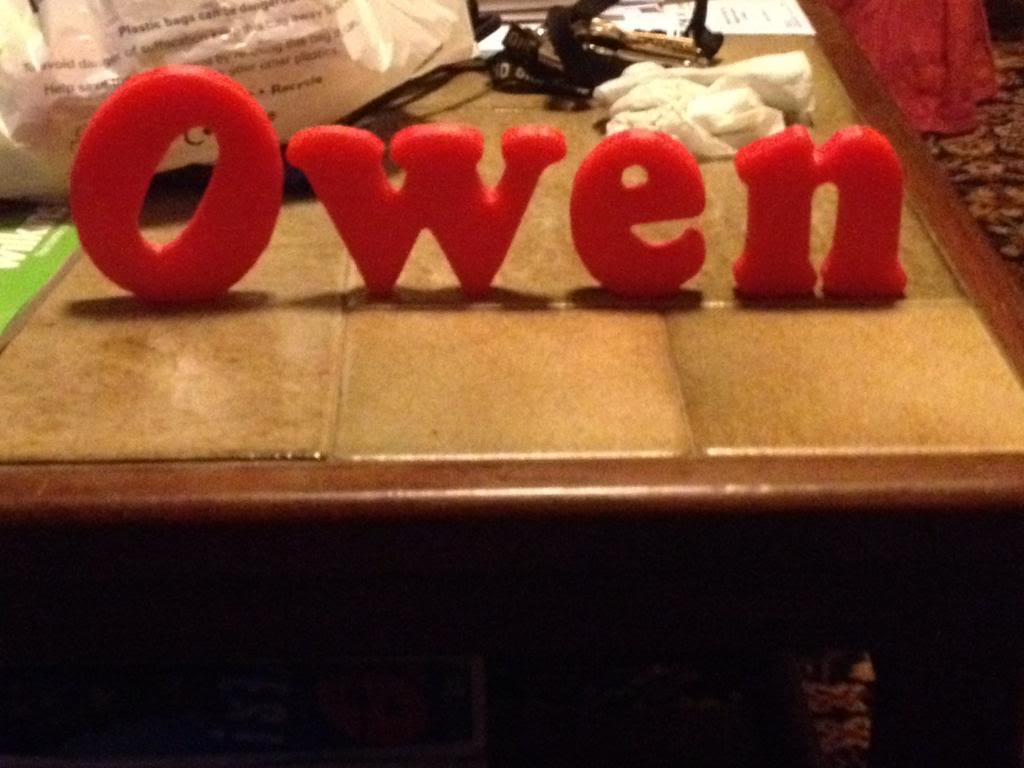
When both the bed and the nozzle are at printing temperature then press the print button, then watch your printer make the letters for the door sign.



1 comment:
Take a look at the gorgeous Personalised gifts UK and signs we have available at One Of A Kind Design UK.
Post a Comment