I started my blog as a guide for putting things together, over time that's slipped through hardware, software, coding, computer aided design, building speakers etc, and has now slipped into web development a little bit.
I can't imaging that this web design kick will last a terribly long time. but whilst it's in my mind and giving me inspirstion to write posts then I'll run with it!!
In the UK (and the EU) we now have a cookie law.
this is a bit weird, and smacks of politicuians thinking that we're eating too many cookies, and that makes you fat, and there is an obecity epidenic, also, when you eat lots you crap lots too, and the sewers can only take so much before the pipes come clogged and then there is too much for the interpipes, and it's falling appart, and it's all the fault of the cookie, or something like that.
In principal I agree that there are some good, bad and ugly uses of cookies.
But like all half baked laws (I promise I'll stop with the cookies are like actual biscuit jokes soon) this one is pretty easy to make a mockery of.
But I've decided that on the site that I've made I'll play within the spirit of the law, as well as the letter of the law, and here's how I've done it.
First, I took a look round, it seems that just letting people know that you use cookies is enough.
So the easiest way to be compliant with the law is to just put a small banner on your site that simply says, "this site uses Cookies" some people go further by saying by continuing to use this site you agree that we can store cookies on your computer, but really you don't need to do that.
The message I put up also links to privacy policy where you get the additional information that the cookies are only used because of the shopping basket feature, that the cookie is cleared if the basket is emptied etc...
Basically, the key to keeping in line with this law is let your users know you keep cookies, and go the extra little way to explain to your users why it is that you need to store anything on their machine.
Monday, June 17, 2013


Monday, June 10, 2013
Development, Testing Staging and finally going live
About development.
So in the last blog post I mentioned that I was doing a little site development work.
Just for a moment, forget about software methodologies water flow and scrum, agile etc.
lets look at the very very most basic functions.
as far as I am aware, there is no new method for test, yes you can test on focus groups, yes you can test with customers, or you can test on your own.
in any situation there will be four main groups, (and this is true even if you're a one man show doing stuff in your spare time like myself) equally it was true when I worked in a software house, and equally it's true now for the developers where I work.
but you'll be amazed by the amount of people that don't get this and don't understand this, they think that it's fine to round a corner here or there, that things could get done easier if only...
You need to set up different environments for each.
Those environments are as such:
Development, - this is the environment that you develop in, it's usual for this to be entirely self contained on your own computer, you edit something and straight away you can see the results -or in deep can see a lack of results because it doesn't work.
It's usual for debug modes to be set, and error reports to appear on screen along side page content for websites. so that you can see and fix errors straight away.
Test, -This environment is for testing, formal testing, you're not displaying errors now or debugging, you;re testing to make sure that it works, your test environment should be as close to what will be deployed as you can make it.
an example of this is the work that I've been doing, I've developed on a windows machine, and have been a bit lazy when it comes to capitalisation, I'm going to deploy the site on Linux hosting, and on Linux capitalisation matters! my test environment therefore is my Raspberry Pi, it's just a small Linux machine.
Staging, -Staging is for your customer testing and load testing, this needs to be EXACTLY like your live environment, same software, same versions of software, and as near as possible same machine specifications, when you do load testing if you have a powerful machine you'll think that the site can handle a lot more traffic than that old server that your live site is on.
If you stage on Windows, and go live on Linux you won't notice that little error that means a dead link, (capitalisation matters on Linux systems!)
Different configuration files for databases can allow you to be lazy as to whether column names or database names are capital or lower case letters.
then finally live, -the environment that the world will see, or at least everyone who will see the site.
You can use the same hardware for test and live, (assuming that you've bought hosting from somewhere then you may want to run www.mysite.com and test.mysite.com -that's fine! but be aware that when you're load testing your test site you'll be loading your live server too!
So in the last blog post I mentioned that I was doing a little site development work.
Just for a moment, forget about software methodologies water flow and scrum, agile etc.
lets look at the very very most basic functions.
as far as I am aware, there is no new method for test, yes you can test on focus groups, yes you can test with customers, or you can test on your own.
in any situation there will be four main groups, (and this is true even if you're a one man show doing stuff in your spare time like myself) equally it was true when I worked in a software house, and equally it's true now for the developers where I work.
but you'll be amazed by the amount of people that don't get this and don't understand this, they think that it's fine to round a corner here or there, that things could get done easier if only...
You need to set up different environments for each.
Those environments are as such:
Development, - this is the environment that you develop in, it's usual for this to be entirely self contained on your own computer, you edit something and straight away you can see the results -or in deep can see a lack of results because it doesn't work.
It's usual for debug modes to be set, and error reports to appear on screen along side page content for websites. so that you can see and fix errors straight away.
Test, -This environment is for testing, formal testing, you're not displaying errors now or debugging, you;re testing to make sure that it works, your test environment should be as close to what will be deployed as you can make it.
an example of this is the work that I've been doing, I've developed on a windows machine, and have been a bit lazy when it comes to capitalisation, I'm going to deploy the site on Linux hosting, and on Linux capitalisation matters! my test environment therefore is my Raspberry Pi, it's just a small Linux machine.
Staging, -Staging is for your customer testing and load testing, this needs to be EXACTLY like your live environment, same software, same versions of software, and as near as possible same machine specifications, when you do load testing if you have a powerful machine you'll think that the site can handle a lot more traffic than that old server that your live site is on.
If you stage on Windows, and go live on Linux you won't notice that little error that means a dead link, (capitalisation matters on Linux systems!)
Different configuration files for databases can allow you to be lazy as to whether column names or database names are capital or lower case letters.
then finally live, -the environment that the world will see, or at least everyone who will see the site.
You can use the same hardware for test and live, (assuming that you've bought hosting from somewhere then you may want to run www.mysite.com and test.mysite.com -that's fine! but be aware that when you're load testing your test site you'll be loading your live server too!
Monday, June 03, 2013
LAM(Pi)
So over the weekend I decided to use my Raspberry pi to do a little bit of website development.
This is an interesting task. I've been actually developing the site on a windows box, but as I plan to host on inux evenutally I thought that I should test on linux, usually this would mean spinning up a VM, but I thought since I have the Raspberry Pi, (and I want to think of a web enabled hardware project also, now would be a good time to get to installing some standard LAMP type tools
first install apache
apt-get apache2
then php
apt-get php5
then mysql
apt-get mysql-server
then the PHP and my sql tools
apt-get php5-mysql
then I want to have a live AND a test site, to you need to configure apache.
I'm putting my test site on an alternate port (I suppose I could use named hosts)
do as well as making a new site in site-available and linking it to sites enabled you have to edit ports.conf too
now, a load of people suggest installing phpmyadmin.
This is a pretty cool tool, I've used it plenty of times before when developing siets. but, I don't reall want that on this box, the reason is, that when I used it before there were pretty much no graphical tools for mysql administration, it was CLI or developing some kind of app.
since Oracle bought MySQL the've written some pretty nice GUI connect and administer tools. (which is weird because the oracle ones are pretty bloated and shite)
then I want to use the GUI tools on my windows machine to admin the mysel server
So I keep getting a connecttion failed error
can't connect to server 10060
Turn out that this means taht the server isn't listening,
but it should be, I am actually running code on it, my site is working perfect databases are being accessed.
Oh wait, turns out that the default config is to listen for connecttions to local host only.
So edit /etc/mysql/my.cnf and change the bind address from bind 127.0.0.1 to bind (your ip address) (make sure you set a static address, you don;t want this changing!!)
But wait, now the tools are saying they can see the server, but throw up the message
Host 192.168.1.11 (my computer) is not allowed to connect to this MySQL server.
You have to grant the user access from specific IP locations. (a pretty neat sucurity feature I guess)
To do this you'll need to log on to your MySQL installation as root.
(so from the command line (Via SSH if you like))
mysql -u root -p
Then you'll want to use the MySQL equivalent of the system databases,
use mysql
And finally, grant access to the machine to be able to connect to the server:
grant all on *.* to root@'[clinet IP]' identified by 'password'
(or grant select insert delete on *.* to web_site_user@'web_site_server_IP' identified by 'web_site_user password')
This is an interesting task. I've been actually developing the site on a windows box, but as I plan to host on inux evenutally I thought that I should test on linux, usually this would mean spinning up a VM, but I thought since I have the Raspberry Pi, (and I want to think of a web enabled hardware project also, now would be a good time to get to installing some standard LAMP type tools
first install apache
apt-get apache2
then php
apt-get php5
then mysql
apt-get mysql-server
then the PHP and my sql tools
apt-get php5-mysql
then I want to have a live AND a test site, to you need to configure apache.
I'm putting my test site on an alternate port (I suppose I could use named hosts)
do as well as making a new site in site-available and linking it to sites enabled you have to edit ports.conf too
now, a load of people suggest installing phpmyadmin.
This is a pretty cool tool, I've used it plenty of times before when developing siets. but, I don't reall want that on this box, the reason is, that when I used it before there were pretty much no graphical tools for mysql administration, it was CLI or developing some kind of app.
since Oracle bought MySQL the've written some pretty nice GUI connect and administer tools. (which is weird because the oracle ones are pretty bloated and shite)
then I want to use the GUI tools on my windows machine to admin the mysel server
So I keep getting a connecttion failed error
can't connect to server 10060
Turn out that this means taht the server isn't listening,
but it should be, I am actually running code on it, my site is working perfect databases are being accessed.
Oh wait, turns out that the default config is to listen for connecttions to local host only.
So edit /etc/mysql/my.cnf and change the bind address from bind 127.0.0.1 to bind (your ip address) (make sure you set a static address, you don;t want this changing!!)
But wait, now the tools are saying they can see the server, but throw up the message
Host 192.168.1.11 (my computer) is not allowed to connect to this MySQL server.
You have to grant the user access from specific IP locations. (a pretty neat sucurity feature I guess)
To do this you'll need to log on to your MySQL installation as root.
(so from the command line (Via SSH if you like))
mysql -u root -p
Then you'll want to use the MySQL equivalent of the system databases,
use mysql
And finally, grant access to the machine to be able to connect to the server:
grant all on *.* to root@'[clinet IP]' identified by 'password'
(or grant select insert delete on *.* to web_site_user@'web_site_server_IP' identified by 'web_site_user password')
Monday, May 27, 2013
Making an extension lead, (plug end)
I made a post last week about adding an extension lead socket to a length of wire.
Now I'm going to detail the plug end.
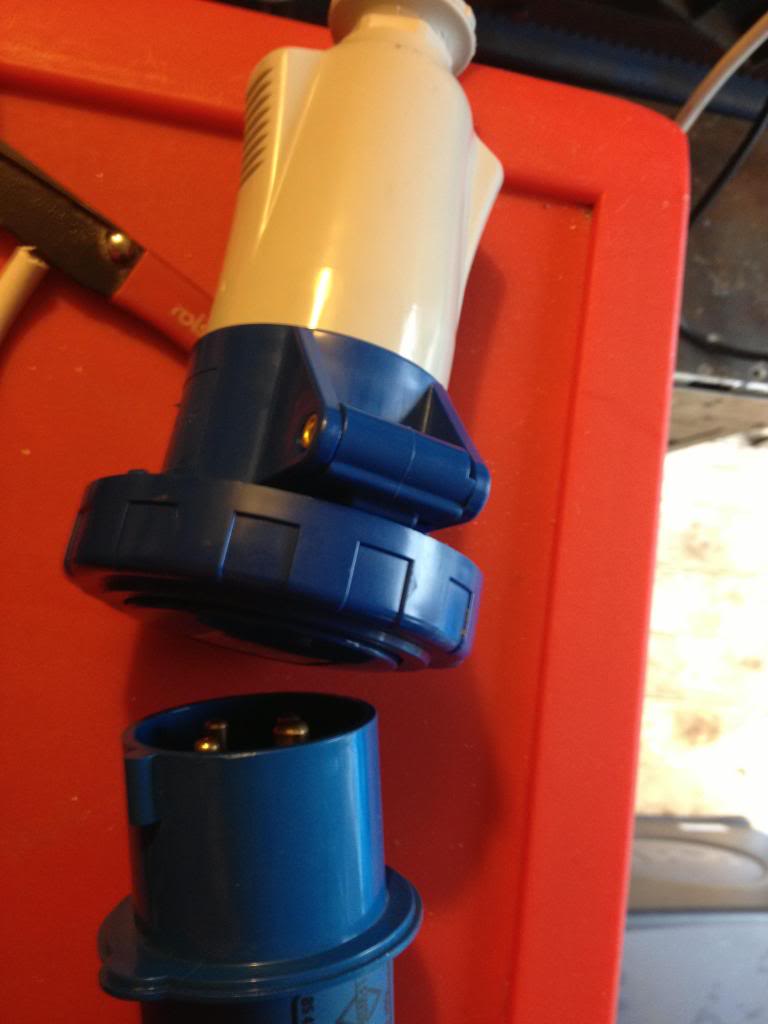
So start by looking at the pins, here you'll find two screw holes that secure the male plug pin part to the back cover that you hold whilst plugging or unplugging.
undo these screws and remove the back cover, then put the back cover onto the wire that you're using to make the extension lead, (or the flex for the equipment that you're attaching the plug to) so that you;ll be able to close the plug later once the wires are connectted.
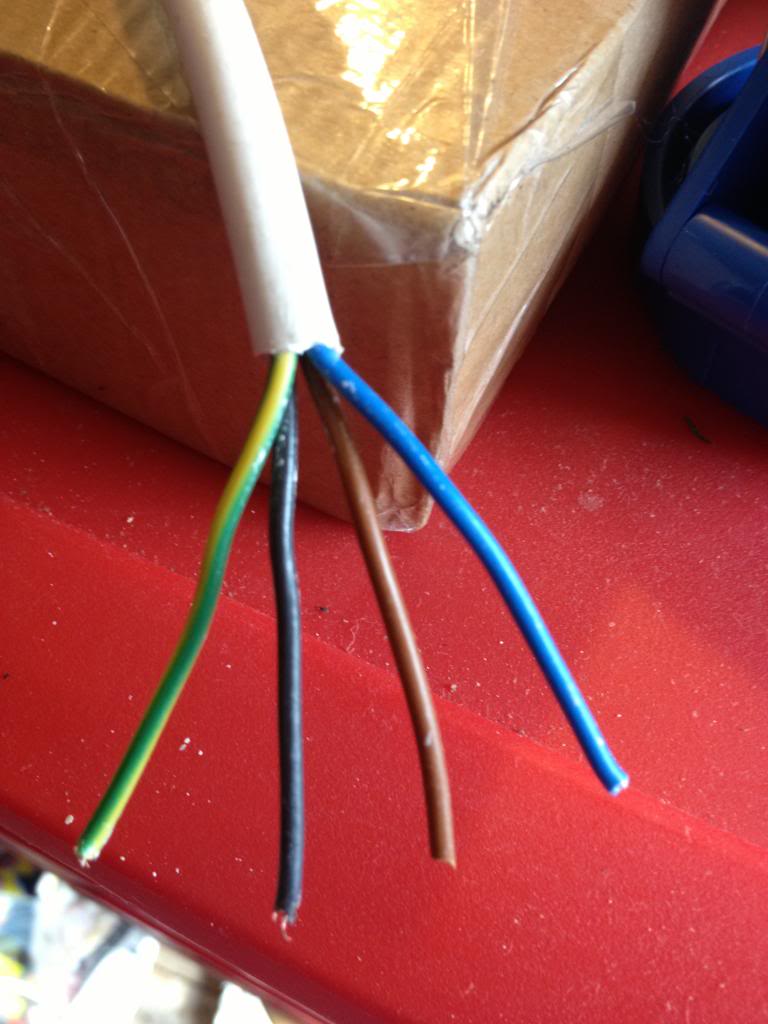
Again, start by stripping your wire.
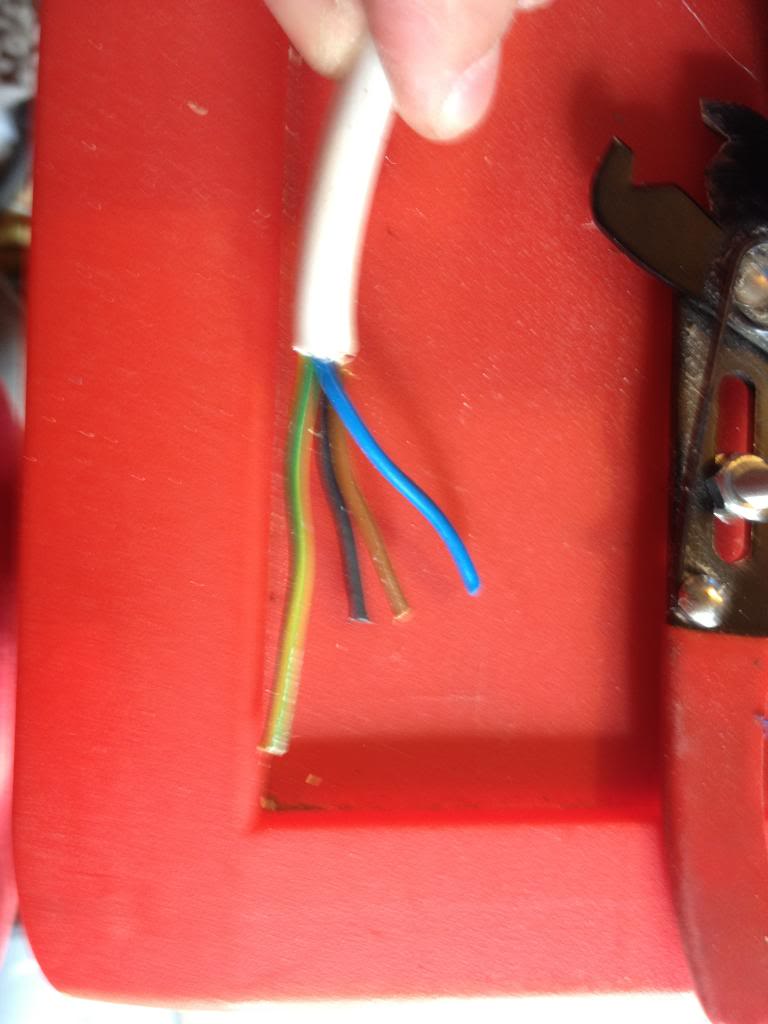
then cutting the phase wires slightly shorter than your earth wire, (so that if the cable is strained, your equipment would go dead before it became unearthed)


Now loosen the cable clamp and attach the wires to the plug terminals.
Finally clamp the cable in the cable clamp, push the back cover on, and screw it back into place with the screws that are next to the plugs inside the plug shroud.
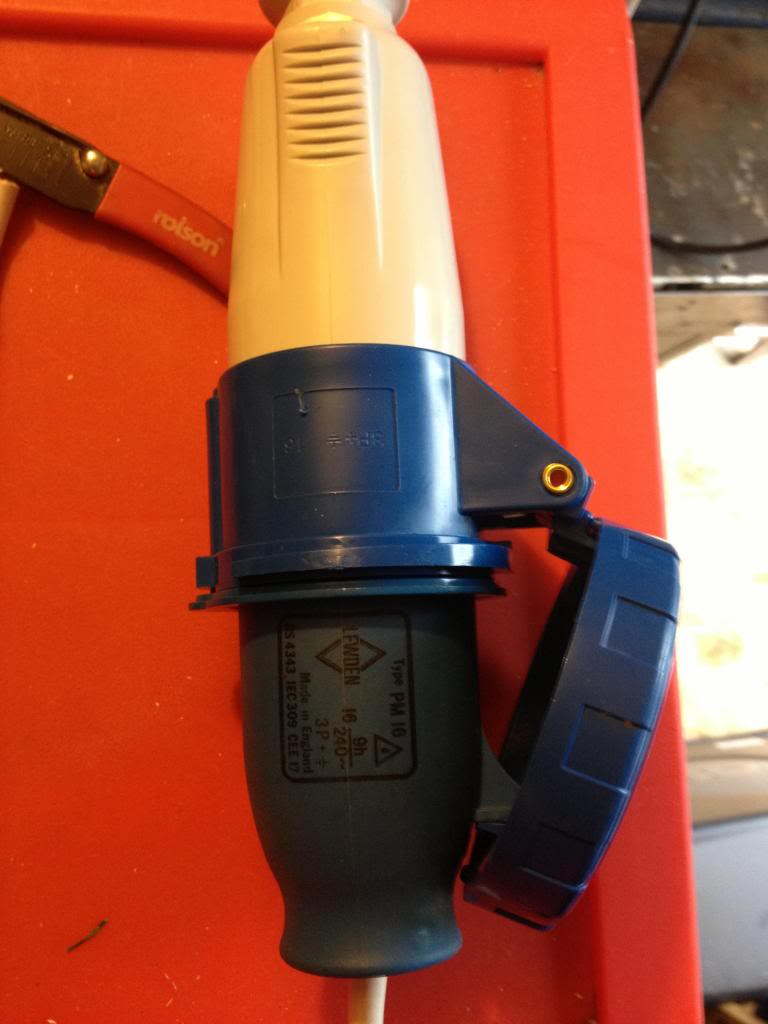
Your extension lead is now complete.
Now I'm going to detail the plug end.
So start by looking at the pins, here you'll find two screw holes that secure the male plug pin part to the back cover that you hold whilst plugging or unplugging.
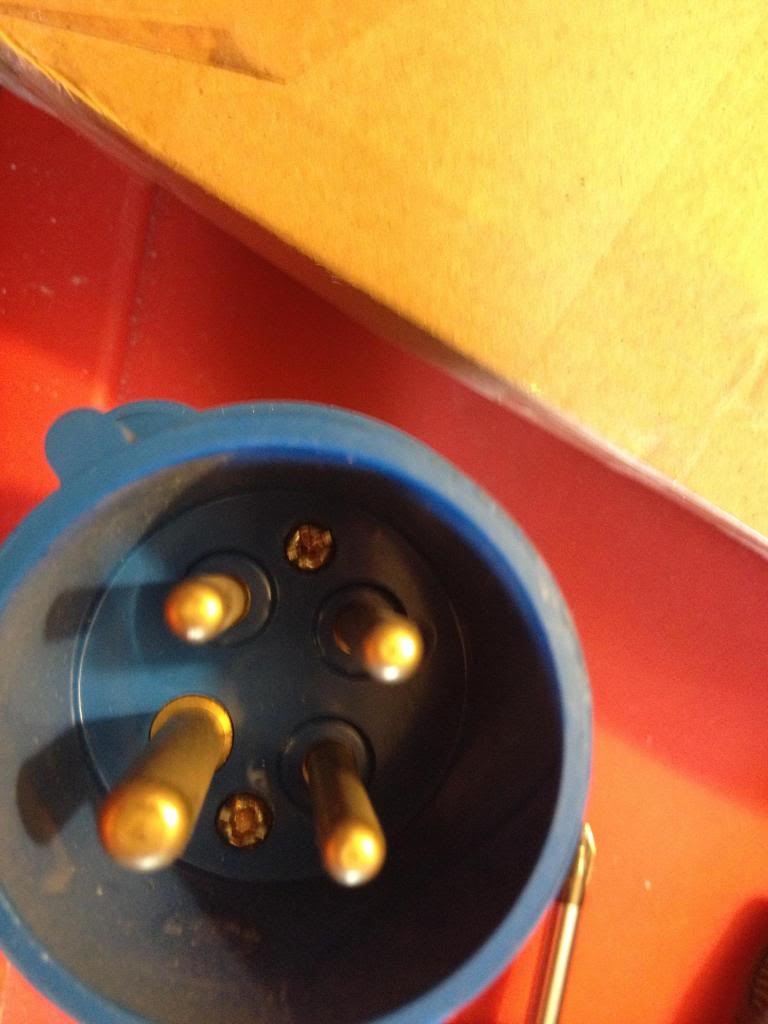
undo these screws and remove the back cover, then put the back cover onto the wire that you're using to make the extension lead, (or the flex for the equipment that you're attaching the plug to) so that you;ll be able to close the plug later once the wires are connectted.
Again, start by stripping your wire.
then cutting the phase wires slightly shorter than your earth wire, (so that if the cable is strained, your equipment would go dead before it became unearthed)
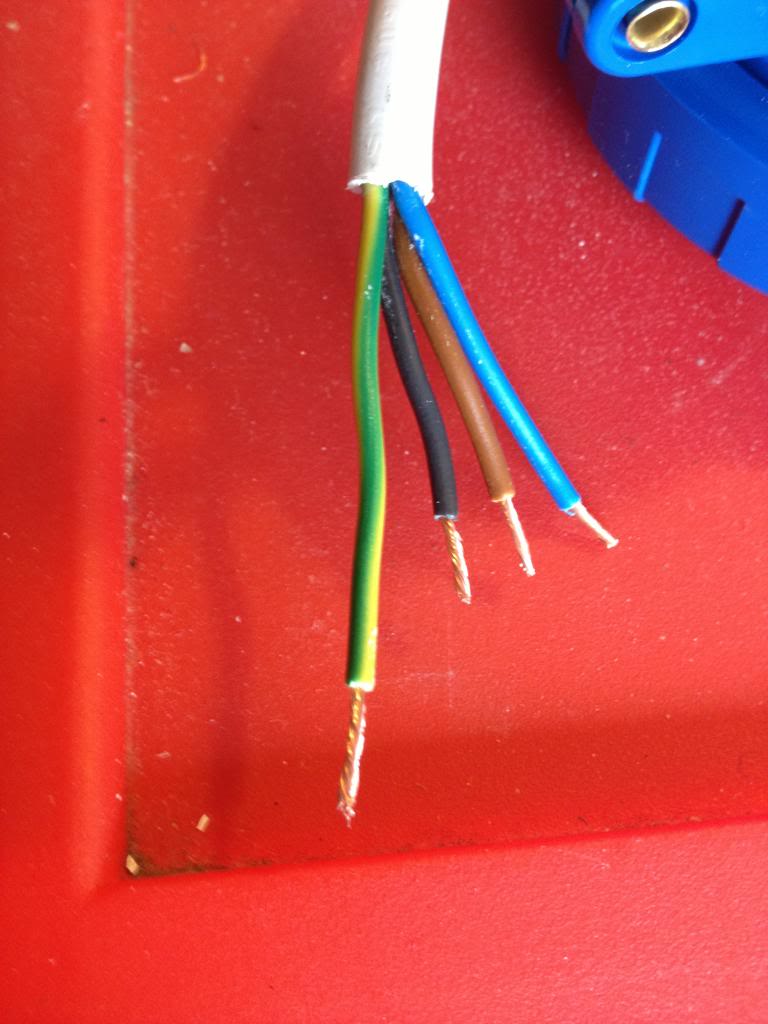
Now loosen the cable clamp and attach the wires to the plug terminals.
Finally clamp the cable in the cable clamp, push the back cover on, and screw it back into place with the screws that are next to the plugs inside the plug shroud.
Your extension lead is now complete.
Subscribe to:
Posts (Atom)