Monday, August 20, 2012

Electronics lessons: Logic gates

Logic gates are useful in digital electronics, in digital electronics there are generally no wave forms, there is two states, either logic high or logic low, on or off, 1 of 0.

when we work with binary data we have to have a way to deal with it.

that way of dealing with it is with the use of logic gates.

There are a few basic logic gates.

NOT, AND OR, and XOR.

First NOT
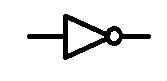
You have two basic states in binary, on or off, if it's not on, it's off, if it's not off, it's on.

the not gate works in the same way as that sentence,

if you put a 1 into a not gate, it's output is 0
if you put a 0 into a not gate, it's output is 1
A | Q
====
0 | 1
1 | 0


AND

The AND gate has two inputs and one output. for the output to be on, ALL inputs to the AND gate must be on, if either one of the inputs is low then the output will also be low.

Think of it like two switches in series, both switches must be on in order for it to work.
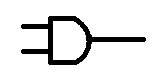
A B | Q
======
0 0 | 0
0 1 | 0
1 0 | 0
1 1 | 1

OR

Another basic logic gate is the OR gate. again this gate has two inputs, the out put will be on  if either input A OR input B is on.

A B | Q
======
0 0 | 0
0 1 | 1
1 0 | 1
1 1 | 1

XOR
The last basic logic gate is the exclusive OR gate, XOR
With this gate the output will be on if In put A is high, OR if input B is on, but not if input A and input B is on. it must be exclusively A or B that is on, but definitely not A and B.
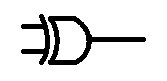
A B | Q
======
0 0 | 0
0 1 | 1
1 0 | 1
1 1 | 0


After this we start adding gates together to make more complicated logic gates.

if we put a NOT gate after a AND gate we make a NAND gate we invert the input of a regular AND gate.
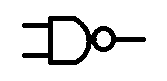
A B | Q
======
0 0 | 1
0 1 | 1
1 0 | 1
1 1 | 0

similarly we can make a NOR gate
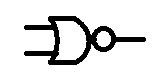
A B | Q
======
0 0 | 1
0 1 | 0
1 0 | 0
1 1 | 0


finally we have the Exclusive NOR gate XNOR

A B | Q
======
0 0 | 1
0 1 | 0
1 0 | 0
1 1 | 1

Monday, August 13, 2012

Counting in different bases.

This is going to be a pretty short post, to introduce a concept that will be needed in future.
That concept is binary.

The first thing to think about is that when we count, using Arabic numerals we have ten symbols.
So we could in base ten, (Decimal)

Counting works in a really simple way, we start with our lowest value symbol, and cycle through our symbols until we get to the end of the set, then we start again at the beginning putting the first symbol in our set in front of the least significant number.

most significant, digit digit digit. least significant.

to a number 10,001

The most significant part is the ten thousand, the least significant part is one.

so counting, our numerals are
0,1,2,3,4,5,6,7,8,9

when we hit nine we put our second lowest value numeral to the left in the most significant space and then cycle through numerals again.
we use the second lowest, because our lowest is 0.
000012 is the same as 12

10,11,12,13,14,15,16,17,18,19 ... 101,102,103 .... etc and so on.

Base 2
in base 2 we only use two numerals, 0 and 1

so we start with 0, our next numeral is 1.
then we've exhausted out numerals and have to put our second lowest value to the left, and cycle through, we do this again and again again again:

0, 1, 10,  11, 100, 101, 110, 111, 1000, 1001, 1010, 1011, 1100, 1101, 1110, 1111 and so on.

Base 8
In base 8 we have 8 symbols
0, 1, 2, 3, 4, 5, 6, 7, 10, 11, 12, 13, 14, 15, 16 ,17, 20, 21, 22, 23, 24, 25, 26, 27, 30

Base 16
In base 16 we use 16 symbols, these are
0,1,2,3,4,5,6,7,8,9,a,b,c,d,e,f

so we count in the following way.
0, 1, 2, 3, 4, 5, 6, 7, 8, 9, a, b, c, d, e, f, 10, 11, 12, 13, 14, 15, 16, 17, 18, 19, 1a, 1b, 1c, 1d, 1e, 1f, 20, 21 and so on...

Counting from 0 to 63 the various numbers look the following way.


Decimal   Binary                   Octal        Hexadecimal
0              000000                    00                      00
1              000001                     01                     01
2              000010                     02                     02
3              000011                     03                     03
4              000100                     04                     04
5              000101                     05                     05
6              000110                     06                     06
7              000111                     07                     07
8              001000                     10                     08
9              001001                     11                     09
10             001010                     12                     0a
11             001011                     13                     0b
12             001100                     14                     0c
13             001101                     15                     0d
14             001110                     16                     0e
15             001111                     17                     0f
16             010000                     20                     10
17             010001                     21                     11
18             010010                     22                     12
19             010011                     23                     13
20             010100                     24                     14
21             010101                     25                     15
22             010110                     26                     16
23             010111                     27                     17
24             011000                     30                     18
25             011001                     31                     19
26             011010                     32                     1a
27             011011                     33                     1b
28             011100                     34                     1c
29             011101                     35                     1d
30             011110                     36                     1e
31             011111                     37                     1f
32             100000                     40                     20
33             100001                     41                     21
34             100010                     42                     22
35             100011                     43                     23
36             100100                     44                     24
37             100101                     45                     25
38             100110                     46                     26
39             100111                     47                     27
40             101000                     50                     28
41             101001                     51                     29
42             101010                     52                     2a
43             101011                     53                     2b
44             101100                     54                     2c
45             101101                     55                     2d
46             101110                     56                     2e
47             101111                     57                     2f
48             110000                     60                     30
49             110001                     61                     31
50             110010                     62                     32
51             110011                     63                     33
52             110100                     64                     34
53             110101                     65                     35
54             110110                     66                     36
55             110111                     67                      37
56             111000                     70                     38
57             111001                     71                     39
58             111010                     72                     3a
59             111011                     73                     3b
60             111100                     74                     3c
61             111101                     75                     3d
62             111110                     76                     3e
63             111111                     77                     3f

Monday, August 06, 2012

Coding Lessons: Structs (Lessons 18)

So we've dealt with Arrays and strings and passing arrays and fields to and from functions.

Now we're going to look at structured data.

Structured data is basically a list of fields, those fields can have any type, the total memory for that block is then the combined memory requirements of all the little bits of data inside that structured data block.

You can think of a struct like a row of a table.
Where we can give that table row or block of data a name.

It's probably best to write out some code and explain what's going on.

to start with structured data is created with the keyword struct.

struct product

Here we're going to create a structured data type called product, inside this data type will be a product name and a product price.
The data types that are contained in the struct declaration then follow inside curly brackets.

struct product {
float price;
int stocklevel;
};


So that's our definition of our structured data set-up.

we do this using the struct keyword again, then the name of the struct that we're referring to, (because we could define multiple struct types) then what we want to call it.

struct product apples;

now we want to poke some data into the struct, and read some data out of it:

apples.price = 0.49;
apples.stocklevel= 12;

printf("You have a stock of %d apple(s) costing $%.2f", apples.stocklevel, apples.price);


#include<stdio.h>

int main()
{
struct product { float price; int stocklevel; };
struct product apples;
apples.price = 0.49;
apples.stocklevel= 12;

printf("You have a stock of %d apple(s) costing $%.2f", apples.stocklevel, apples.price);

}

Monday, July 30, 2012

Fitting a second Antenna feed

When an antenna gets fitted to the roof of your house, there is a good chance that there will be just one cable coming down the side of the house, into your living room, or TV room.

Of course this is a little bit useless if you have more than one TV.

So here is a quick and simple how to split an antenna.

The pictures here show an antenna that has been routed through the inside of a house under the eaves into attic space, the process for splitting an antenna feed outside if the same, however you may wish to include a water proof box over the splitting equipment.

In this installation the split at the antenna is being done at the same time the antenna is being installed, but fundamentally it makes no difference. (the only difference is the colour of the cables used in the end!)

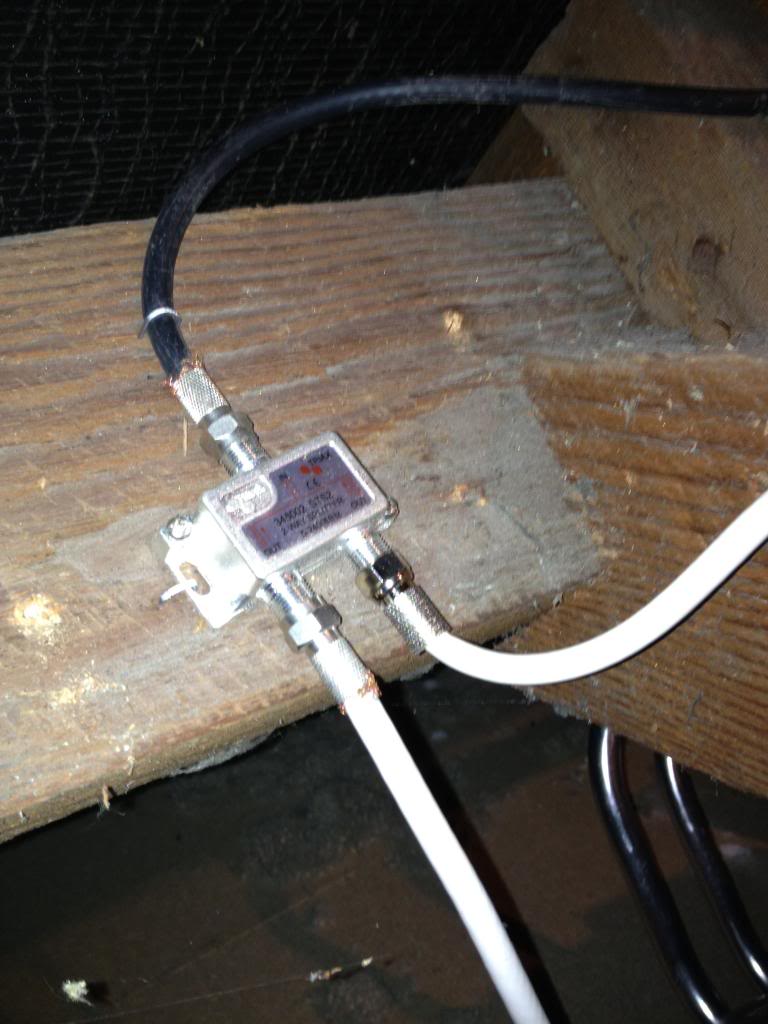
First, in order to perform this splitting task you will need to first purchase an antenna splitting device,
this is a small transformed that is used for impedance matching.
If you just split the cable into a Y shape then it would work, but the signal from the antenna would be loaded, and thus pretty weak.

The Antenna feed has an impedance of 75Ohms, the circuit inside your TV has an impedance of 75Ohms, if you put another TV in parallel then you will halve the impedance to 37.5 Ohms.

So we use a transformer.
this transformer has one input coil with an impedance of 75 Ohms, and two output coils each with an impedance of 75 Ohms.

This will serve to effectively half the strength of the signal from the arial going to each set, so if you have a weak signal you should consider a splitter with an amplifier.

Start.
Cut the antenna wire at a point where it will be convenient to fasten the splitter box to a roof joist.
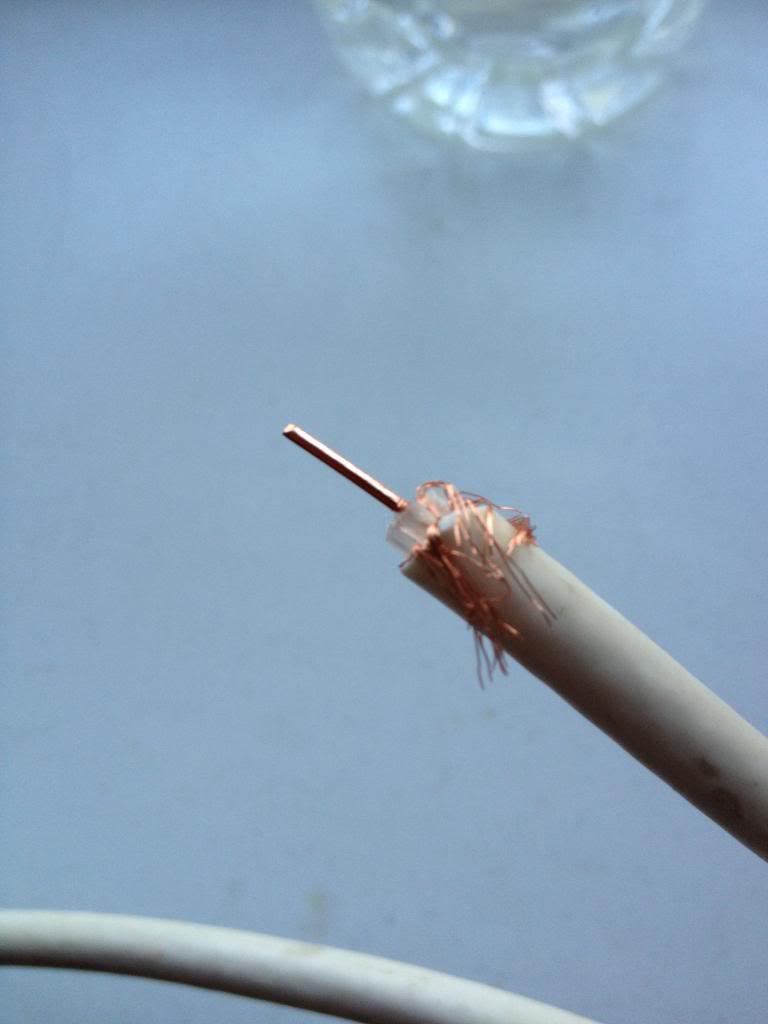
Once you have cut the antenna wire, peel back and cut off approximately 10mm of the outer insulation, and fold the screen wire of the coax cable down to cover the outer insulation sheath.

Now cut approximately 7mm of the inner insulation away from the solid signal conductor.
Screw on an F connector.
This will need to be attached to the "IN" connector on your signal splitter.

Now, you need to run cables through your roof space and down walls to the locations that you want your antenna outlets to be.
Once you have your cable in the correct place, use cable tacks to attach to joists, and C clips to secure the cable to masonry.

At the splitter end, attach more F connectors in a similar fashion to how you connected the antenna feeds F connector.

Now fix your splitter to a joist and attach the cables, the antenna feed going to the "IN" socket, and each feed to your TVs going to the "OUT" sockets.


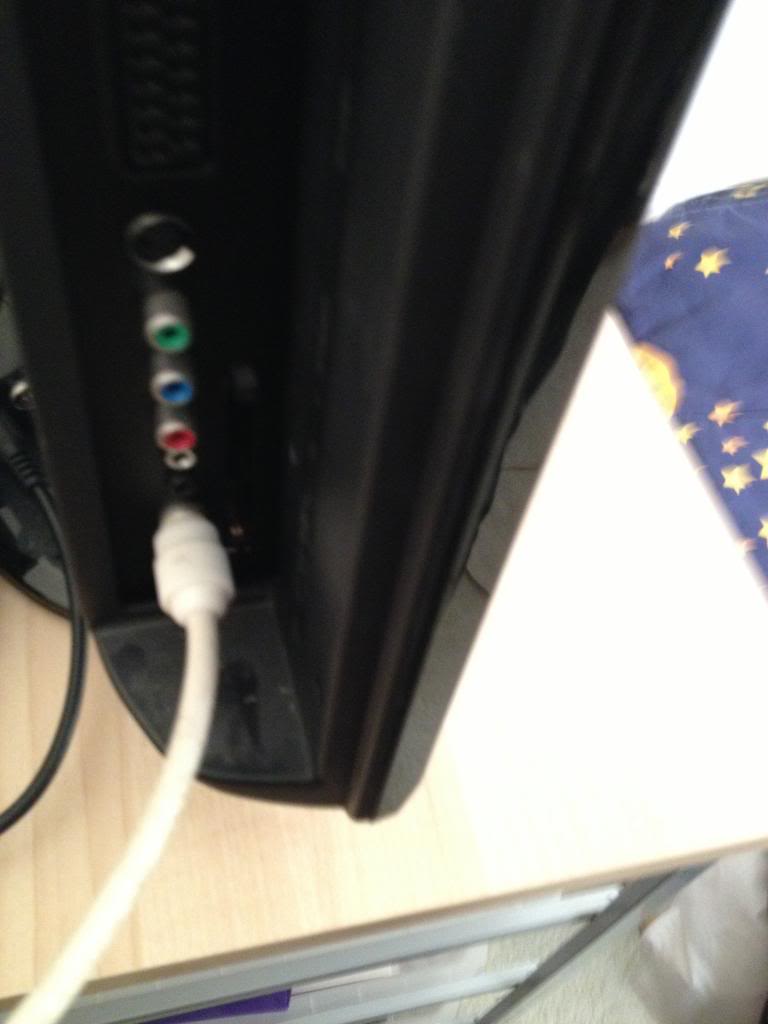
At the other end of the cable you now want to attach an antenna plug to go into the back of your TV.

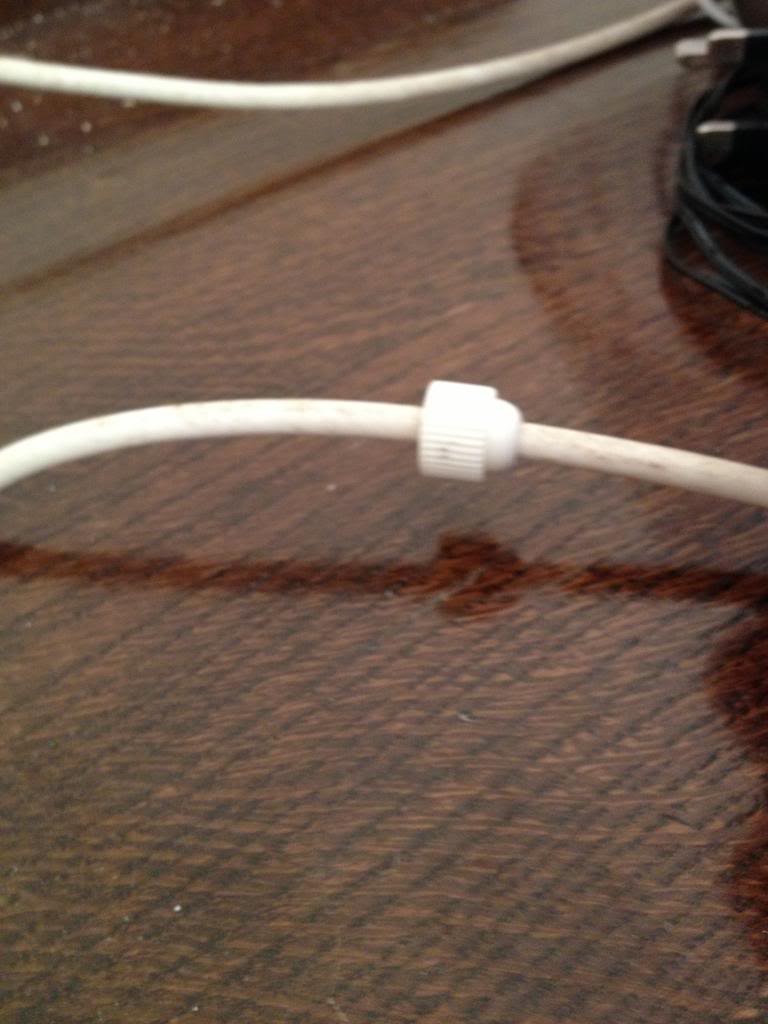
First, put the bottom screw cover for the antenna plug onto the wire.


Now remove approximately 15mm of the outer sheath.
Pull the screen wire of the coax down and over the insulation, then remove the inner conductor leaving around 2mm of the insulator to stop the screen wire accidentally touching the signal wire.


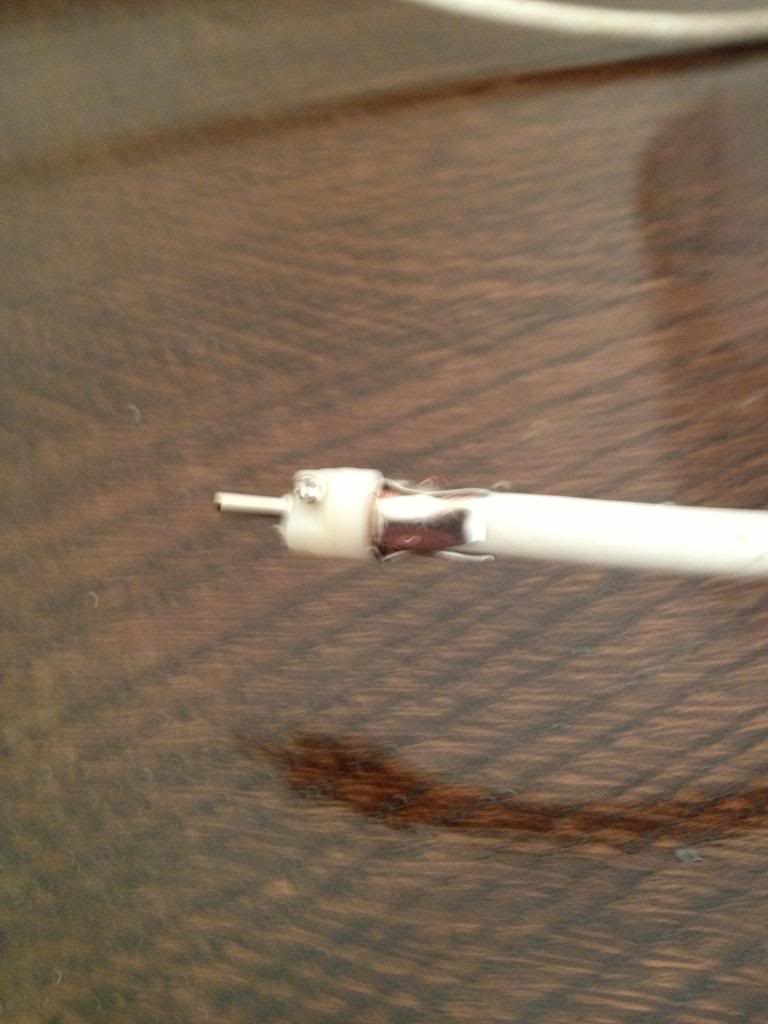
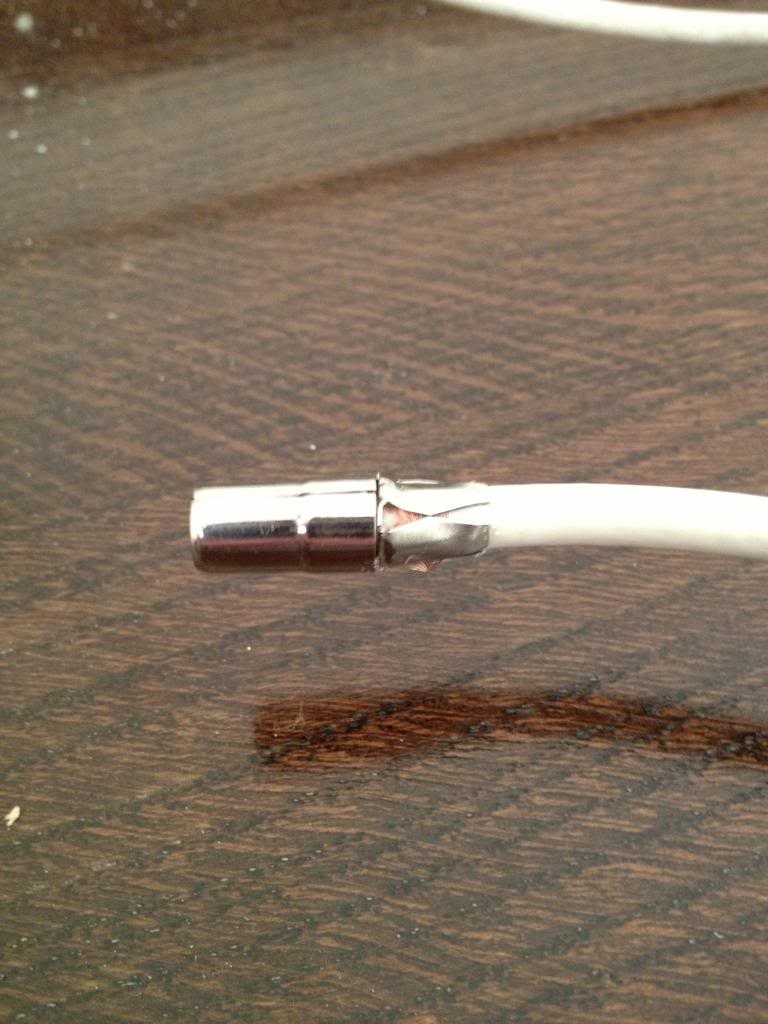
Now you need to attach the four pronged cable clip, this clip is intended to make good contact with the wire, squeeze the clips by hand to secure this to the connector and attach the tip part of the plug to the signal wire, place it over the end of the cable, (trim the signal conductor as appropriate) and secure by tightening the small screw onto the signal wire.


Now place the metal screen over the tip assembly.


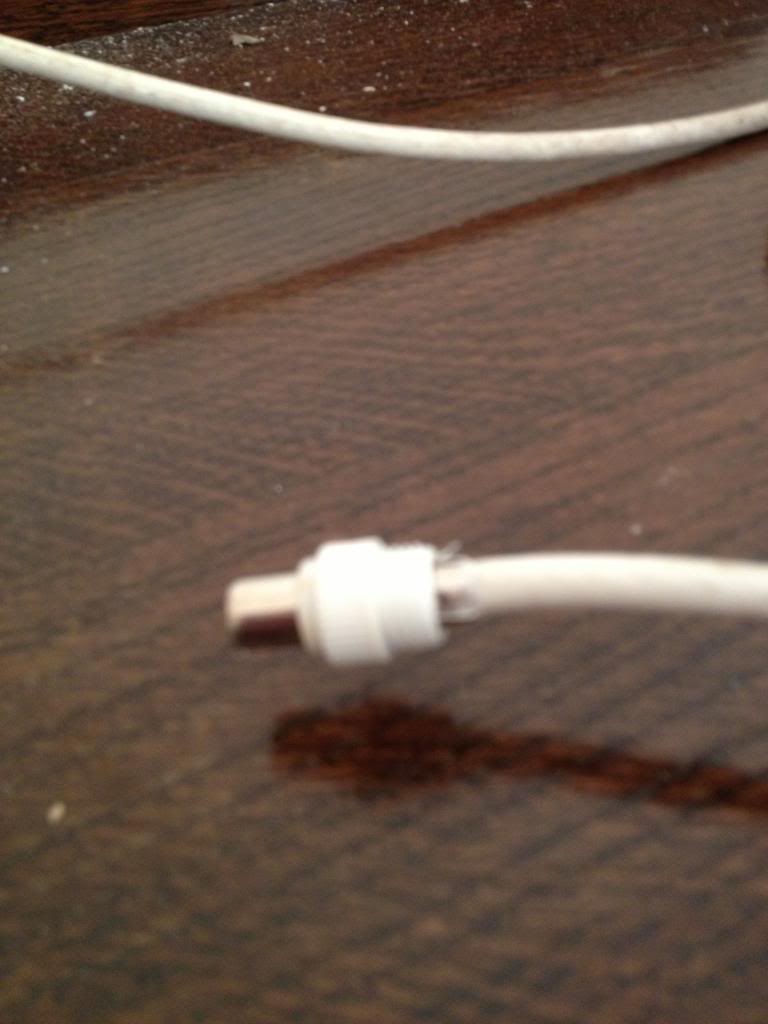
The place the plastic plug cover over the screen and secure using the bottom screw cover that you put onto the antenna wire at the start.


Plug in a TV and ensure that you can receive a connection.

If you can't receive a connection is seems likely that either there is a break in the cable, or your screen wire is touching the signal wire at one of the connectors.